
Tony’s Favorite M&M Cookies
Day 5, 2020
My husband doesn’t have many vices. He drinks Coke Zero. He watches WWE. He plays almost any fantasy sport that has ever been created. But his largest vice, by FAR, is M&Ms. He eats an unnatural amount of M&Ms. Which is totally obnoxious because he’s always been in fabulous shape. Totally obnoxious.
But I love the man, and love means supporting the things that make your partner happy. So, while before I met Tony I thought M&M’s were just fine, my brain is now fine-tuned to seek out M&Ms at every opportunity. When COVID hit, do you have any idea how much time I spent trying to procure M&Ms while in our home confinement phase? A lot of time. As much time as I spent trying to find toilet paper. It became like a part time job just trying to find M&Ms for my hubby because life was stressful enough as it was, the last thing we needed was to run out of the Ms.
So, of course, when do bake cookies outside of the holidays, they’re usually M&M cookies. I actually have not one but two recipes that I toggle back and forth between. This one is his favorite. Of the two recipes, it makes a denser and chewier cookie. The other recipe results in a thinner cookie that melts in your mouth like a dream, but also doesn’t keep as well. I call those “Take ‘Em To The Bar Chocolate Chip Cookies”. Yes, there’s a story. I will save that one for next year.

step 1: gather your ingredients
At the holidays, I like to use the holiday colored M&Ms. Not only are they pretty but, according to the M&M expert in my family, they taste better than the normal plain M&Ms. He says this is because they have fewer preservatives. His evidence for this is they have a shorter window for an expiration date than their non-holiday counterparts. I don’t know if he’s right, and maybe it’s in my head but I can taste a difference.
step 2: mix the wet ingredients
In a large bowl or mixer bowl, cream the butter with the sugars. One of my favorite baking tricks is to soften the butter in the microwave - it beats having to remember to put it out on the counter and wait for it to soften. Just place the stick(s) of butter, still in their wrappers, in the microwave for 15 seconds, giving each stick a quarter turn at around 8 seconds. Boom. Done.
Also, the original recipe calls for light brown sugar but, unless I’m given a really solid reason not to, I always use dark brown sugar. Brown sugar is just white sugar with molasses and the light/dark distinction is just a marker of how much molasses is in the sugar. Dark brown sugar has a stronger, richer molasses-y taste. It truly makes cookies more delicious. If all you have on hand is light brown sugar, don’t let that stop you from making this recipe - but if you have a choice, choose dark brown sugar.
Ok, back to this recipe…. add the eggs and vanilla and beat to combine.

Just the wet ingredients. Already delicious.
step 3: add the dry ingredients
In a separate large bowl, whisk together the flour, salt, and baking soda. Add to the wet ingredients in several parts, mixing slowly until combined into the wet ingredients. Add the chocolate chips and mix until just combined - then add the M&Ms and mix until just combined. Yes, this is a lot of chocolate. You won’t regret it.
Cover the bowl and refrigerate your dough for at least 30 minutes but up to a full day. I wish you luck in keeping yourself from stealing spoonfuls of cookie dough in the meantime. You’re going to need it.

With just chocolate chips. Good, but it could be better….

I mean, COME ON! They’re just so pretty - turning chocolate chip cookies into M&M cookies is kind a no-brainer!
step 4: assemble your cookies
Preheat your oven to 375 degrees.
Okay, so these cookies are significantly bigger than any other cookie recipe I will present you with. Each cookie will contain approximately 3 Tbsp of dough. However, don’t try to make them smaller. I don’t know why, but I’ve tried to make them half the size and they just don’t turn out the same. It’s sad. Don’t do it.
Rather than using a cookie scoop for this recipe, I use an ice cream scoop to scoop out my cookie dough, I just don’t fill it completely (as ice cream scoops are typically measure 1/4 cup, which equals 4 Tbsp.) If you don’t have an ice cream scoop, just grab a big spoon and eye-ball it. Then place the dough in your hand and knead it together to create a cohesive dough ball. Place each dough ball approximately 2” apart on your parchment-lined cookie sheet.
Now comes the obscene part: your cookies are already packed with chocolate, and now you’re going to add MORE of it. Yes, more chocolate. I know - it seems impossible, right?! But it’s not - and it will make your cookies look so pretty. Add an additional 3 M&Ms to the top of each cookie, pushing them into the dough. Just do it.

The dough is pretty hard coming out of the fridge so I just do my best to fill my ice cream scoop almost but not all of the way. It doesn’t have to be precise.

Dough ball after it’s been squished together with my hands. You could totally bake them like this, they just wouldn’t be as pretty.

With the completely obnoxious extra 3 M&Ms smushed into the top. But those Ms are the difference between going to a holiday party in your jammies vs. going in a sparkly dress and heels. just do it!
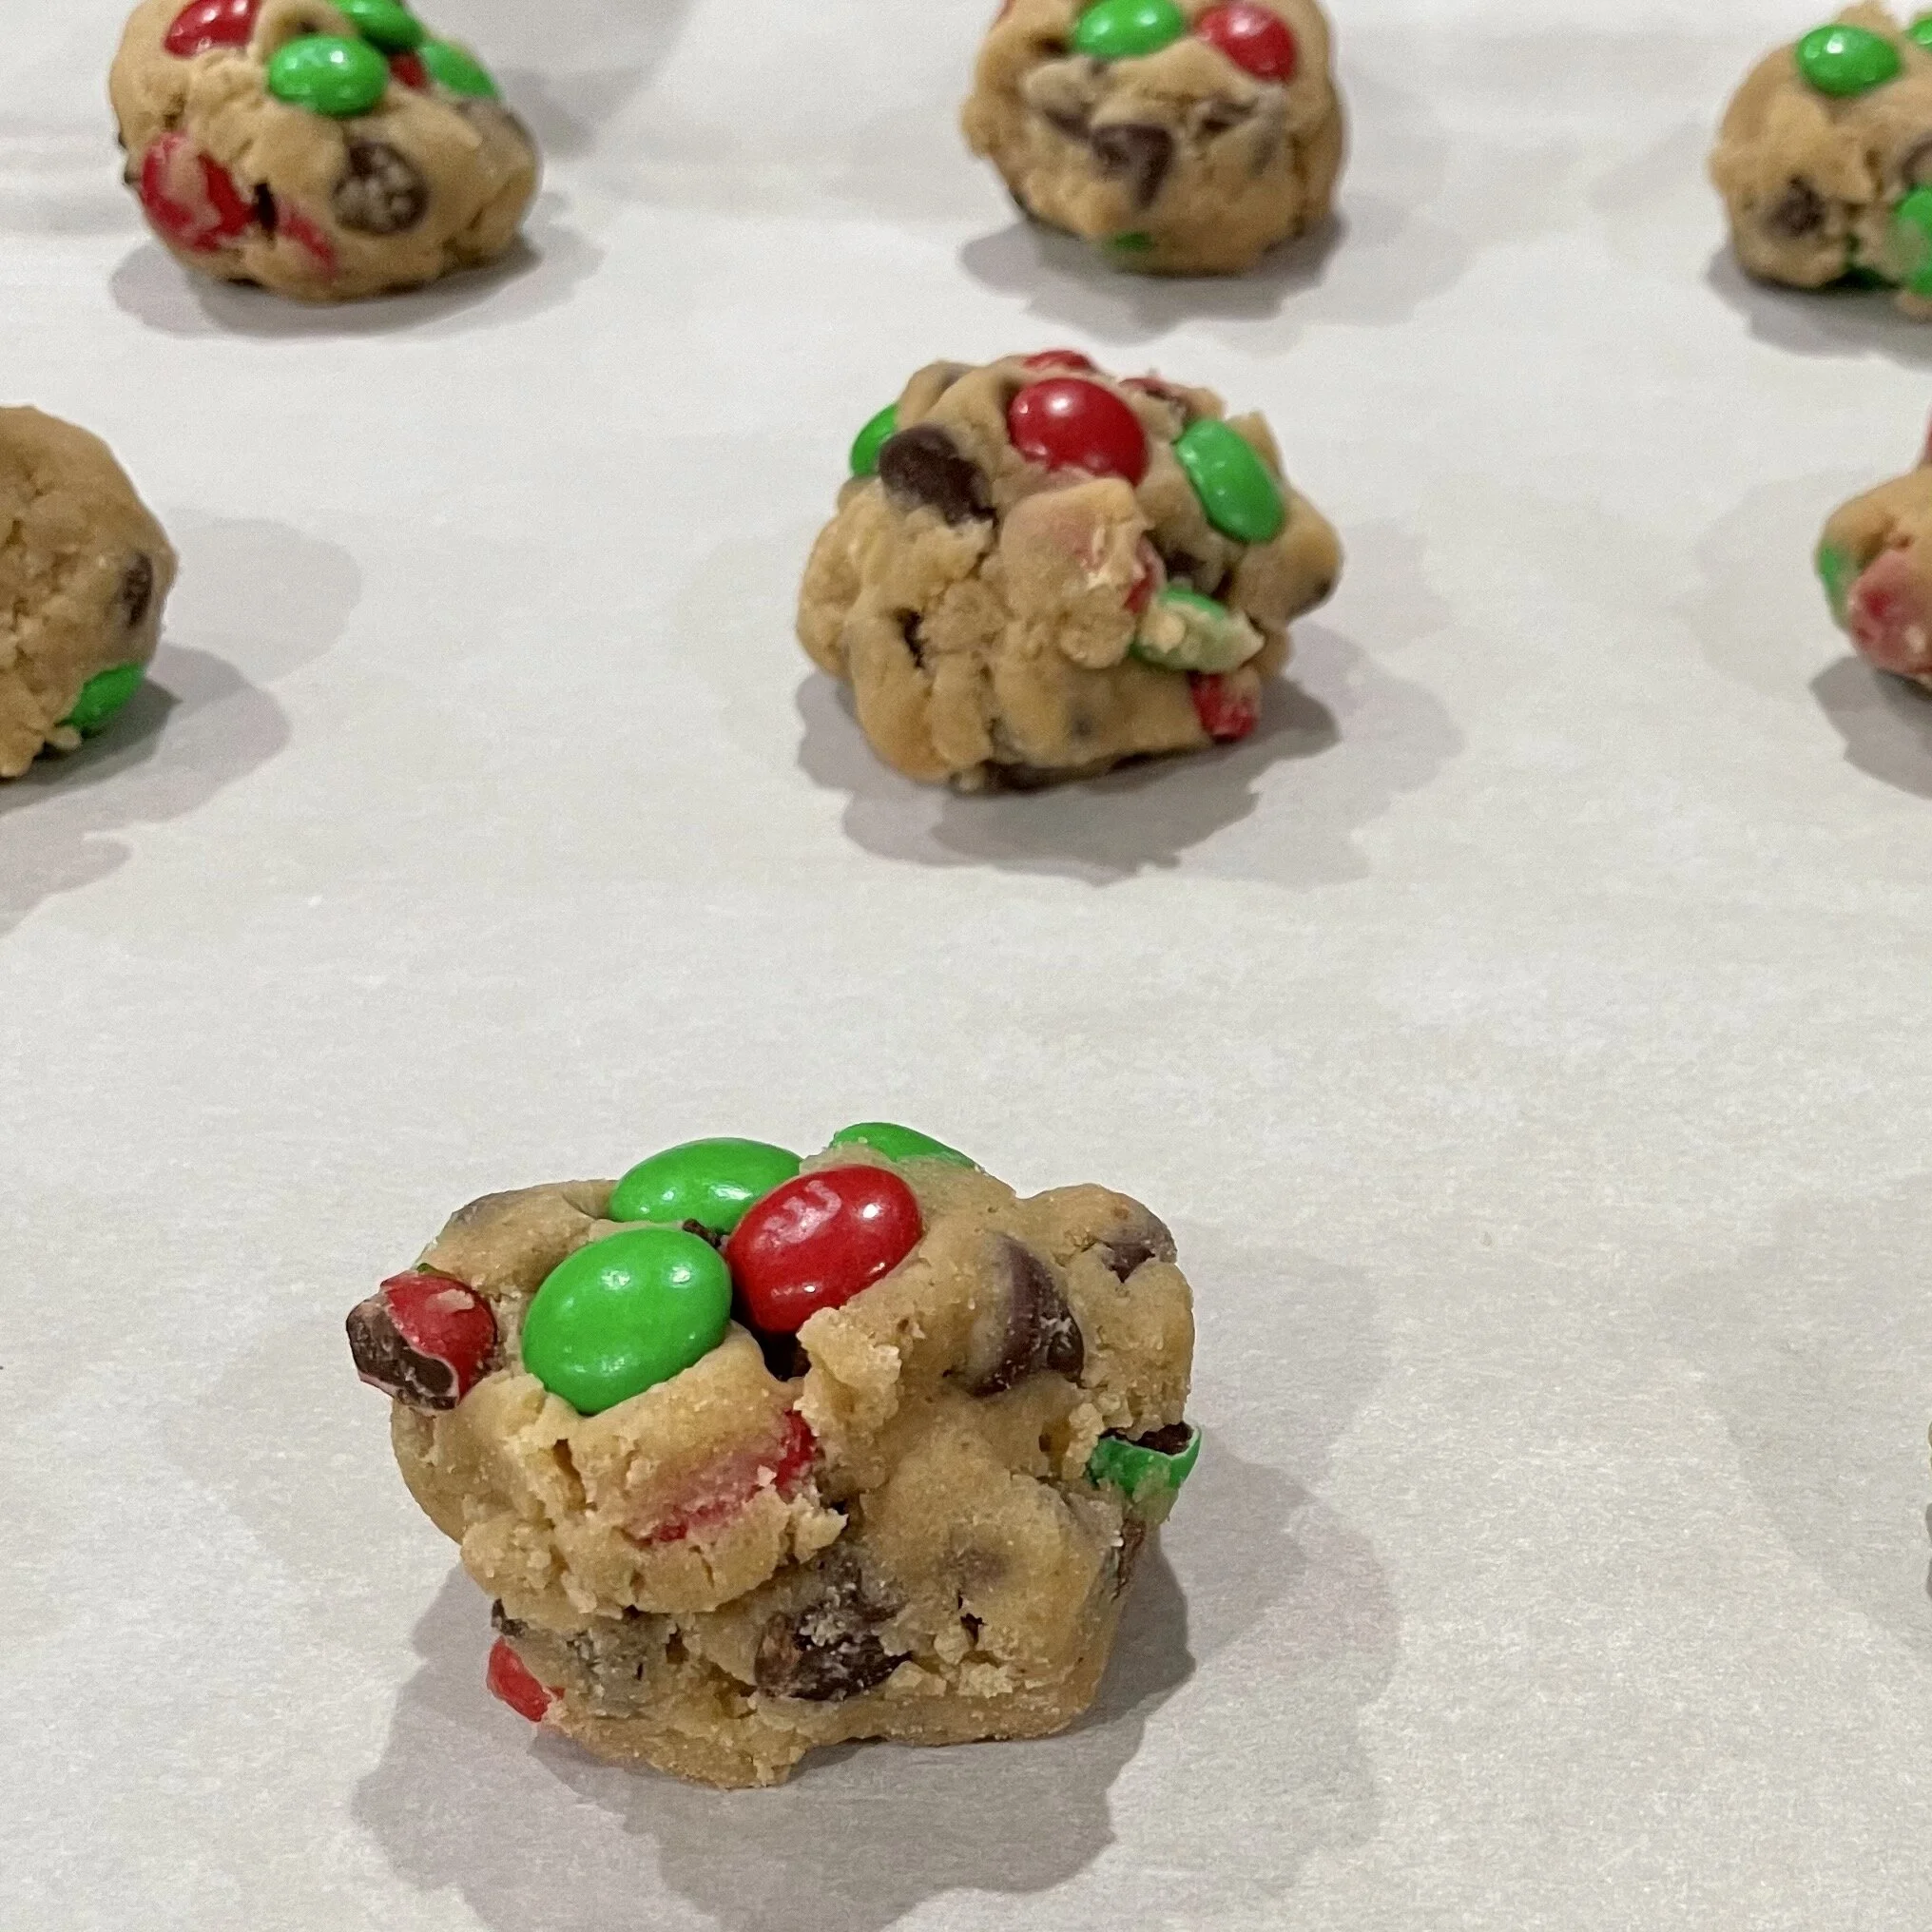
Ready for the oven! If you’re feeling really ambitious and you have the fridge space, you could refrigerate them for another 15 min. at this point to make them even fluffier in the end.
step 5: bake your cookies
The original recipe calls for baking these cookies for 7-10 minutes, or until they’re just starting to brown around the edges. Mine typically take the full 10 minutes, maybe even a minute more - but the visual cue is spot on. When they look just the tiniest bit darker around the edges, take them out of the oven and let them sit for 2 minutes before transferring them to a cooling rack. For chewy cookies, the goal is to get them out of the oven early (but not too early) because they will continue to bake and firm up as they cool down. Be vigilant and watch your cookies more than you watch the clock.
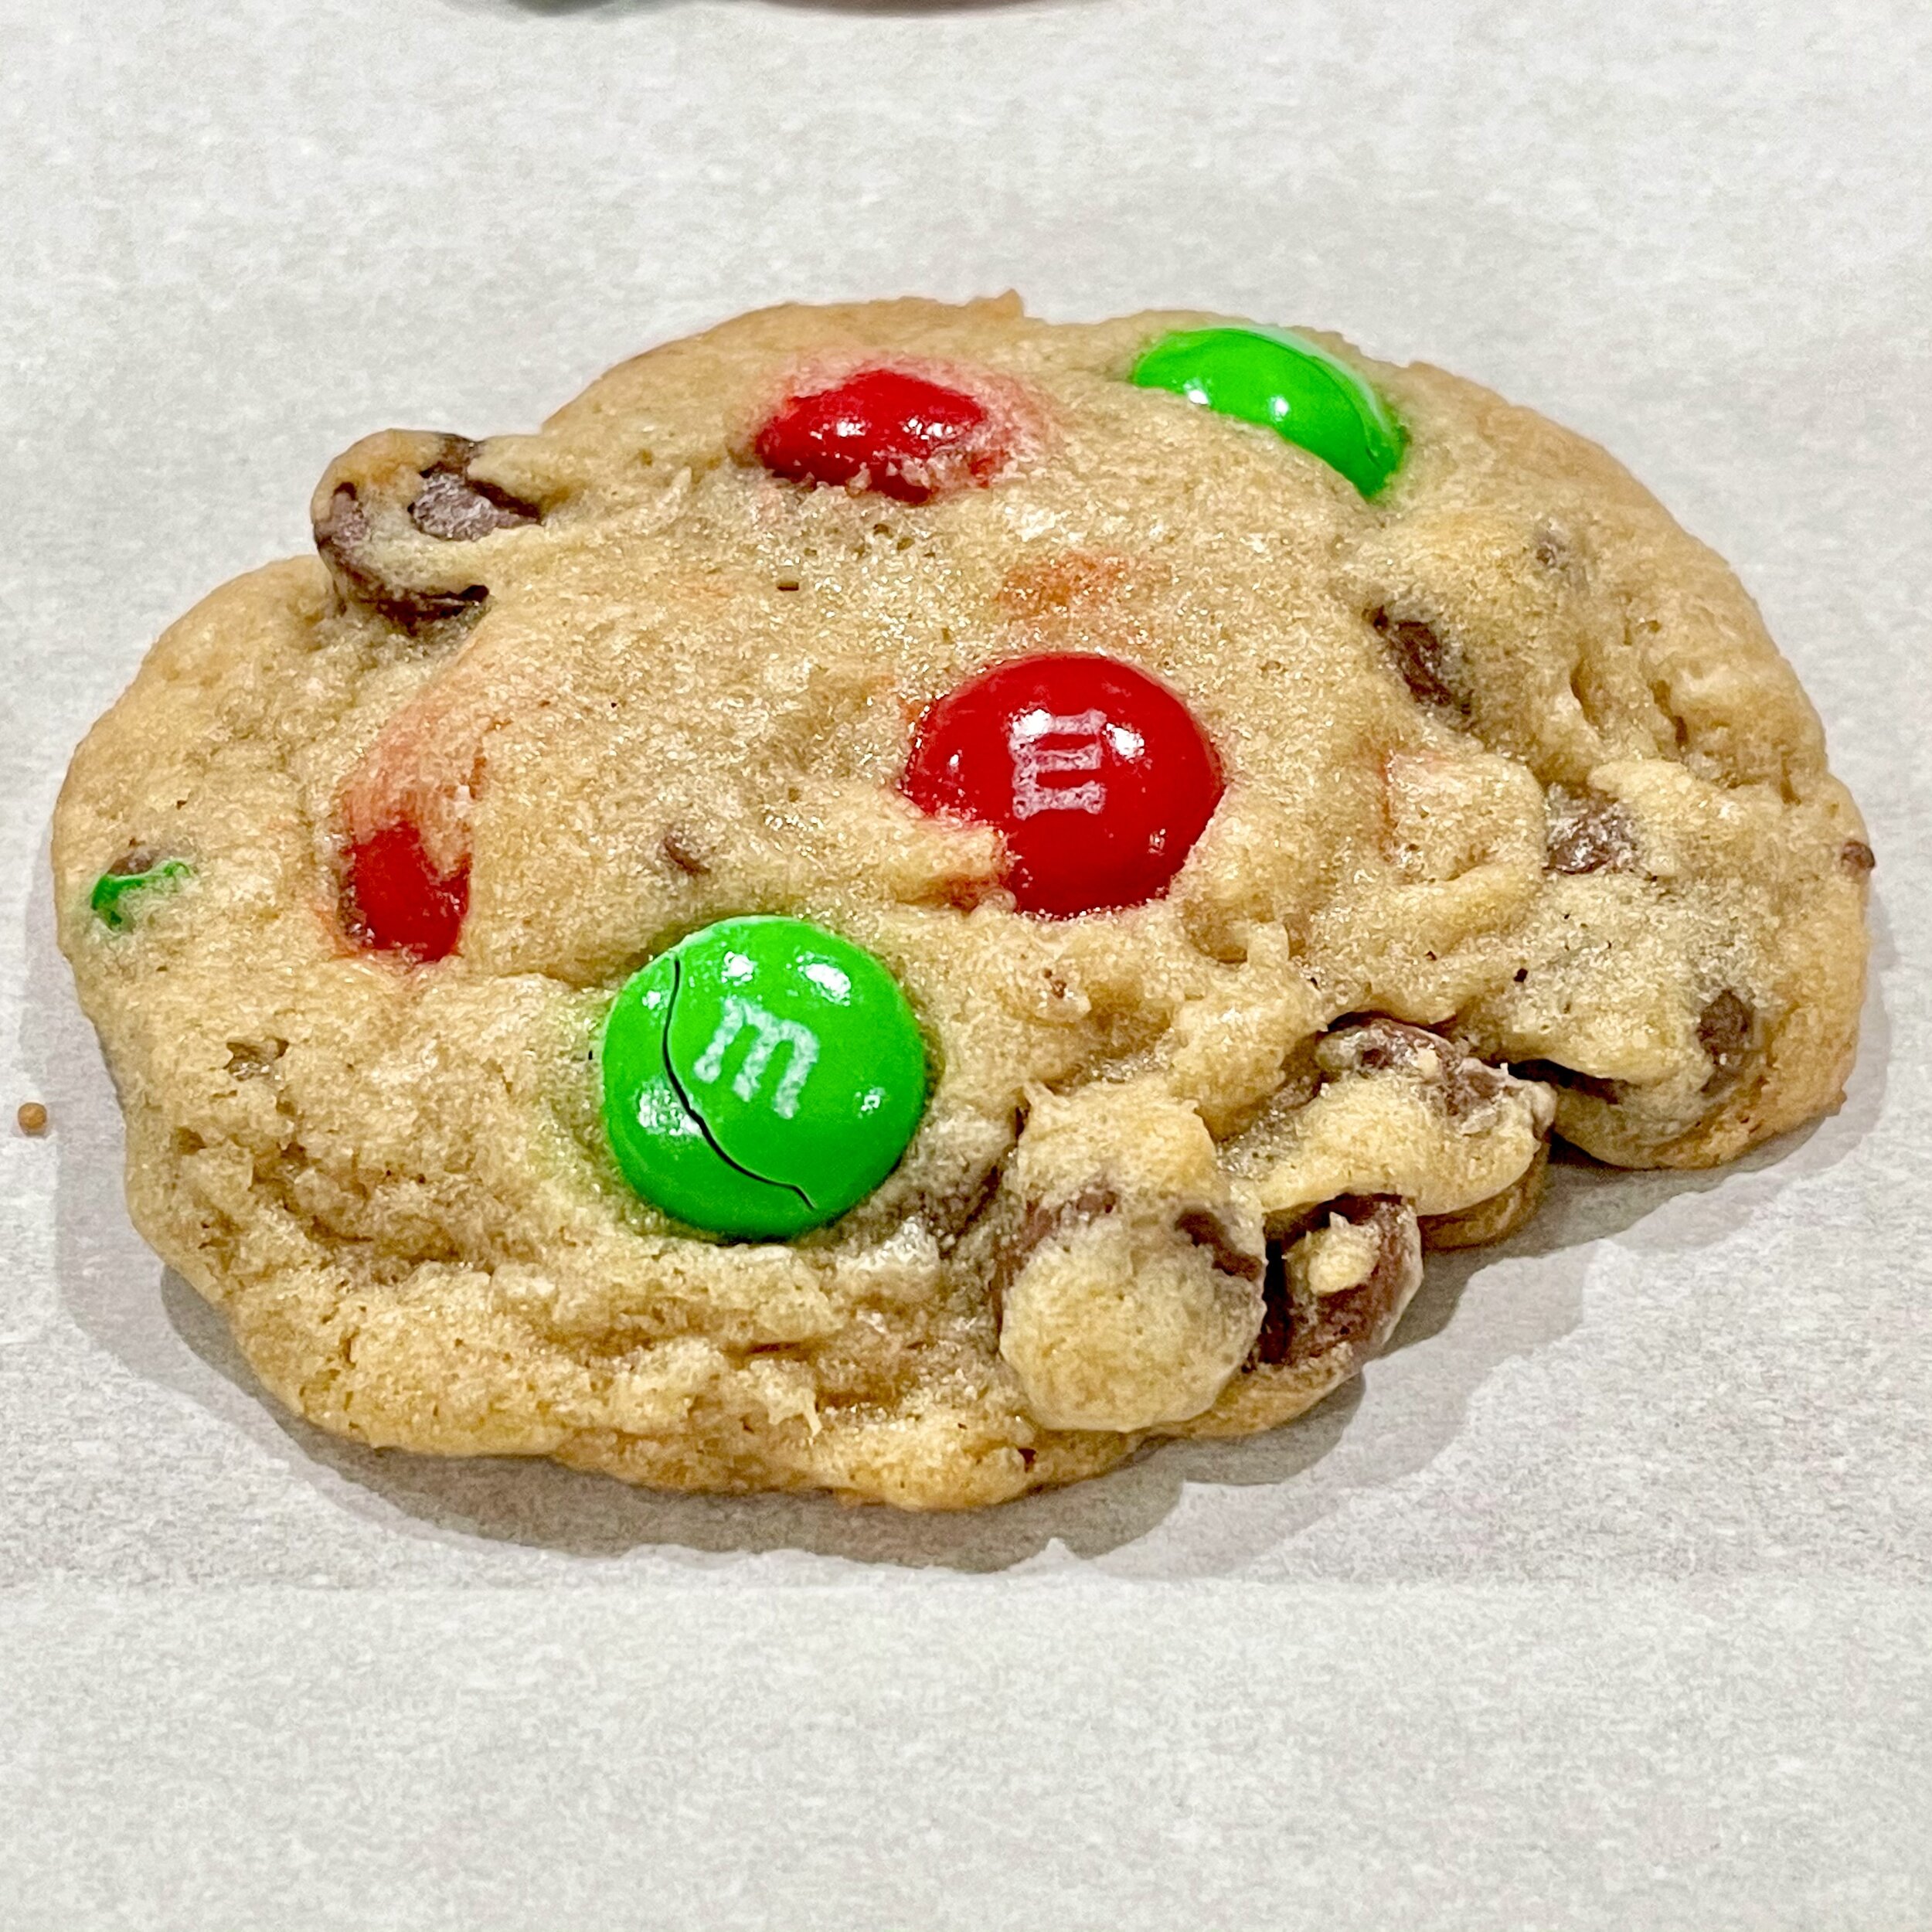
It’s hard to see here but there’s the faintest bit of browning on the underside of the edge - these babies were perfect!

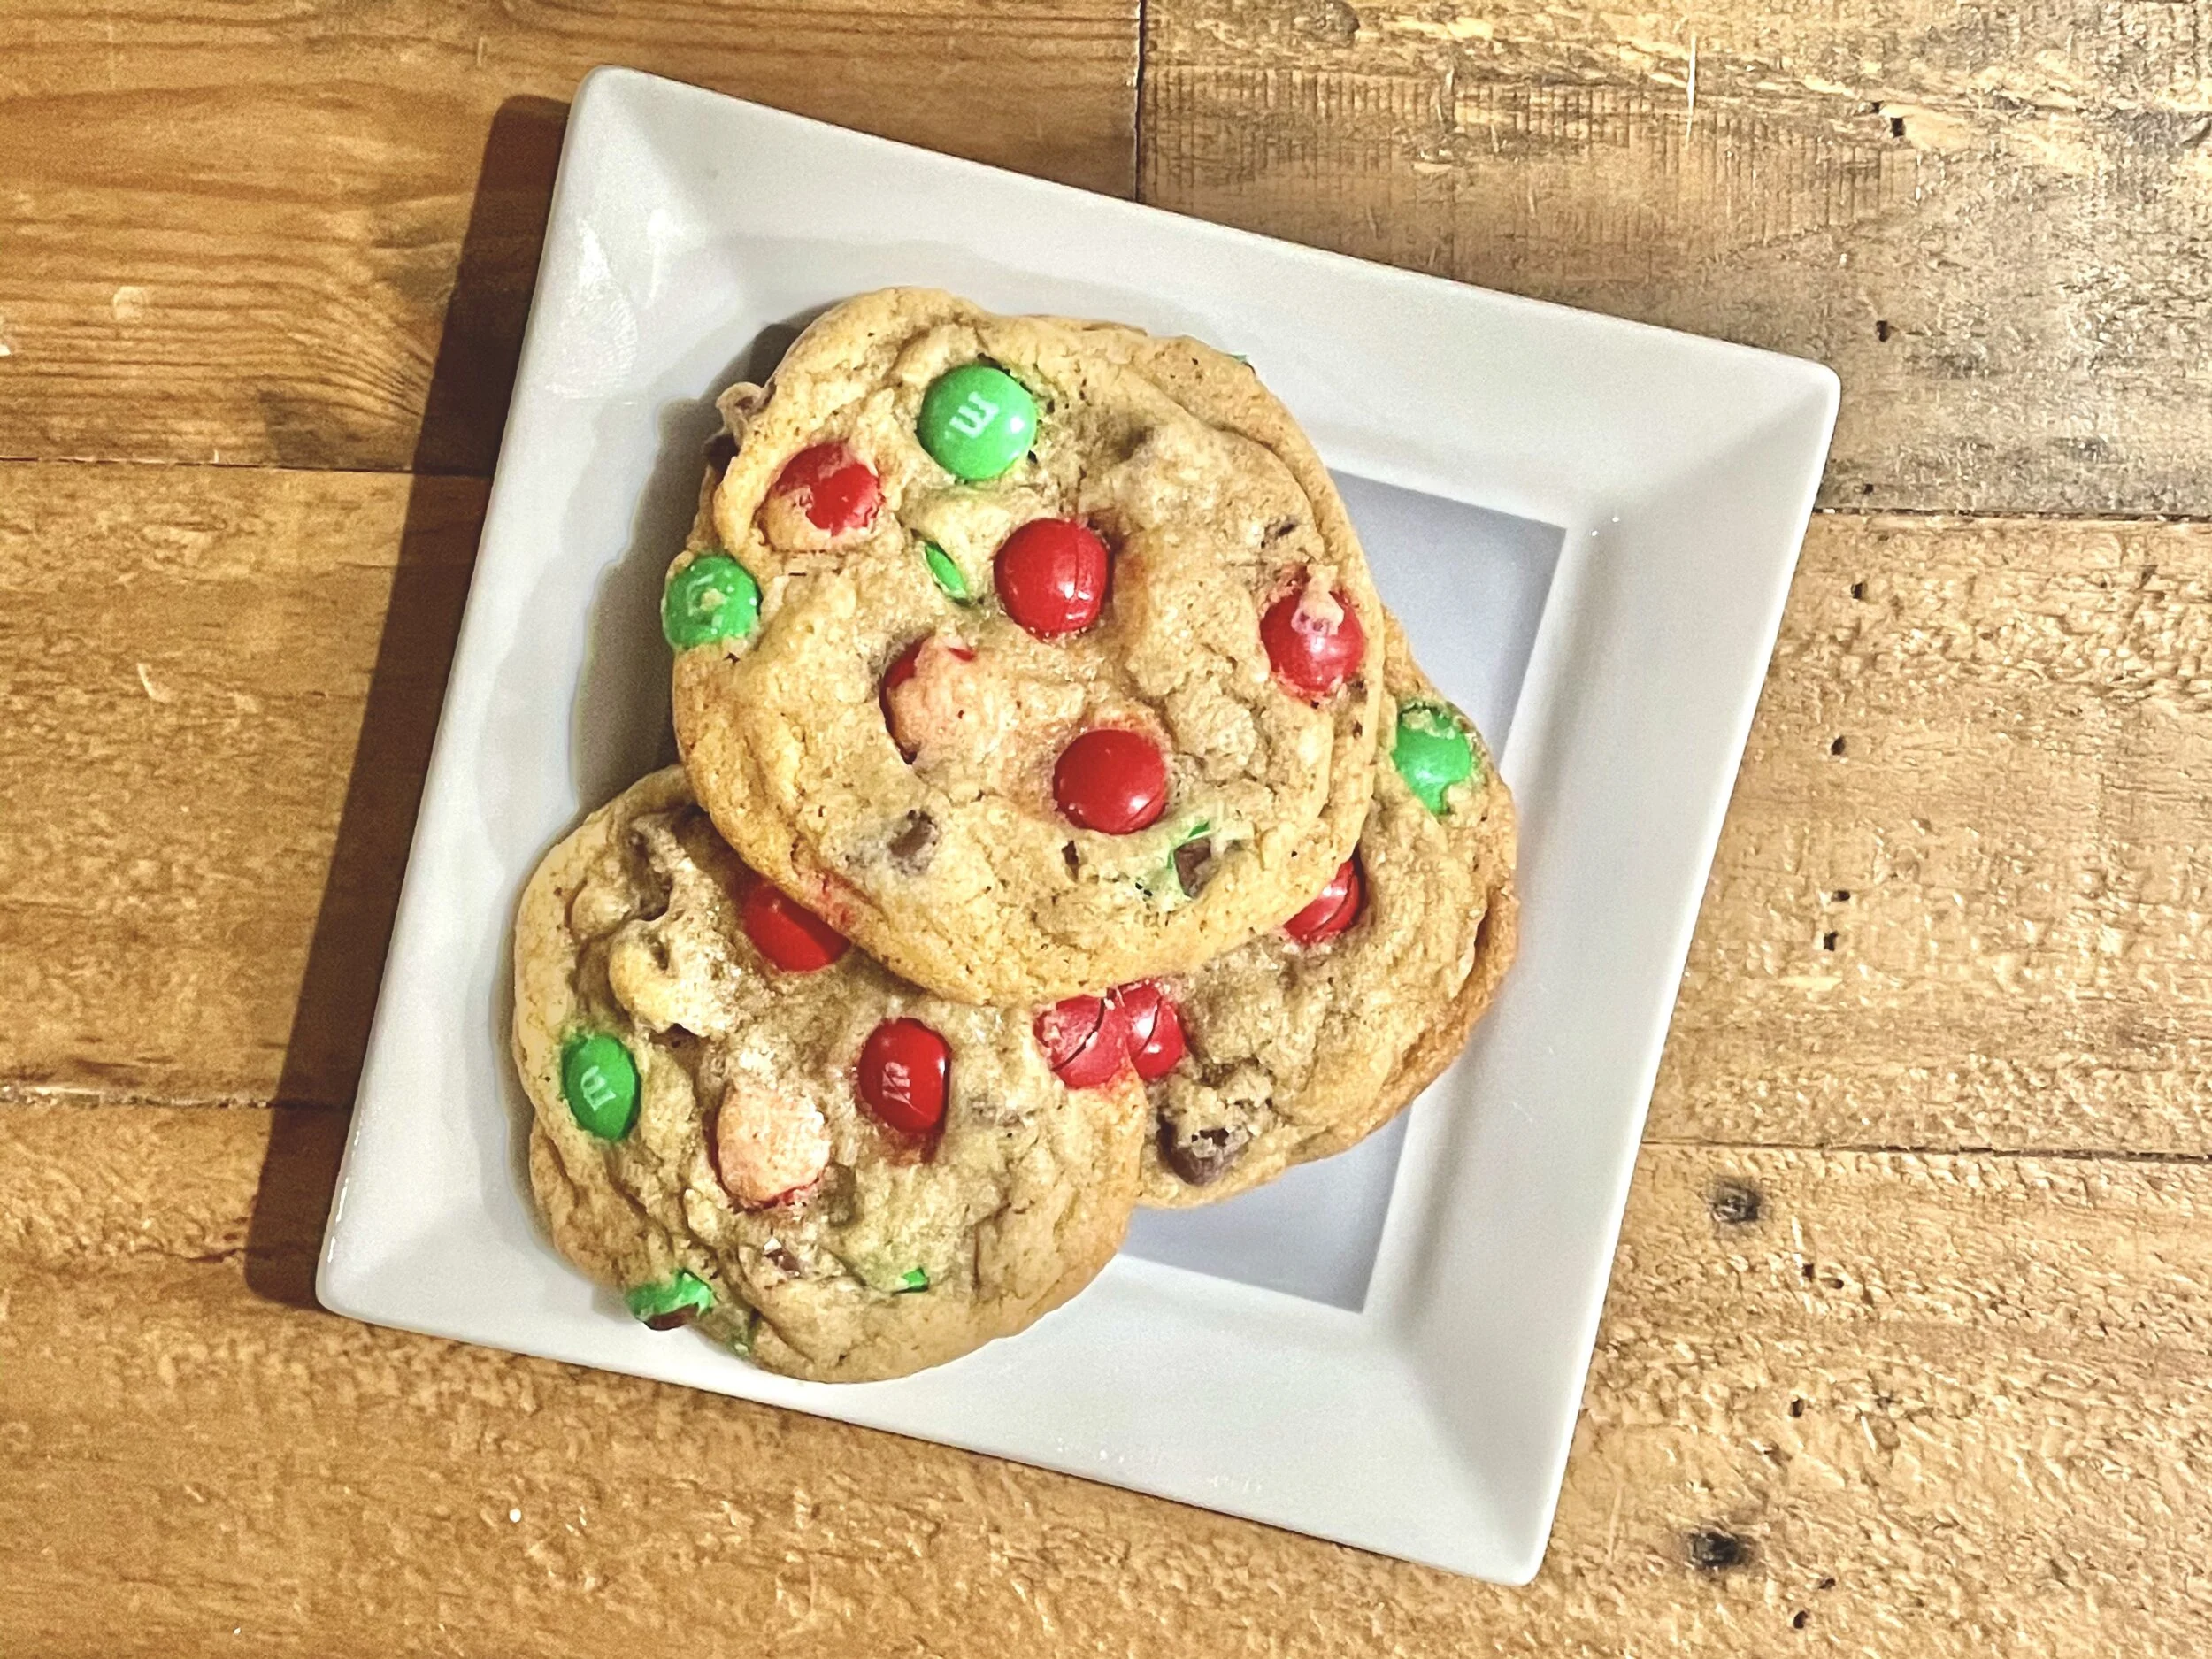
This recipe does not make perfectly round cookies - but it makes perfectly delicious cookies. I’d take that trade-off any day :)
Mistakes Made…
I made one big mistake when making these cookies - it wasn’t anything too big to overcome, but it’s worth noting: I mistakenly put my cookies in the oven before it was fully preheated. This resulted in my cookies cooking more slowly and my a need to leave them in the oven a little longer to ensure they were cooked enough. Once you make a mistake like this, you’re basically freestyling and you have to practically ignore the clock and completely watch your cookies to get it right. Oven temperatures are important in baking.
Enjoy, my friends :)