
Lemon Walnut Biscotti

DAY 6, 2020
Biscotti is a fancy way to eat a cookie for breakfast. Flour, sugar, eggs, etc… for real, it’s a cookie. Does that mean you shouldn’t eat a piece of delicious, crunchy biscotti for breakfast with a cup of hot coffee on a cold winter’s morning? Nooooooo!!! You should definitely eat the biscotti!!!
I have to admit, I’m not awesome at baking biscotti. I’m okay, but not great. I have a former boss/coworker/mentor who makes AMAZING biscotti. She inspires me to try it every year - and every year I feel like mine just doesn’t live up to hers. Yet, I continue to try my hand at biscotti knowing that, at some point, I’ll get it right.
This recipe is right up my alley for the simple purpose that it contains lemon. I love me some lemon-y baked goods! That sweet-tart thing has me at hello and just makes me happy.
These are destined to be part of my early morning routine for the next few days. My kids wake up super early and I’ve learned I’m a pretty awful mother if I don’t have a few minutes to myself before their feet hit the ground. If you’re not a mom, that may sound harsh. If you’re a mom, though, I know you feel me right now… anyway, I get myself out of bed about an hour before my kids wake up to give myself some time to ease into the day and enjoy a cup of coffee in peace. Just one cup. By myself. It’s a beautiful time of day. And these biscotti are made just for that time of day. It makes me love them even more :).

step 1: gather your ingredients
The ingredients here are pretty standard, but there are a few tools that you’ll need (or will at least make your life a lot easier) while making your biscotti.
Microplane grater - This makes it super easy to grate the peel of your lemons. When grating your lemon peel, you want to make sure to get just the yellow part, not the white part.
Citrus Juicer - this little guy makes it easy to get the juice out of your lemons and leave the seeds behind. Otherwise you’ll find yourself chasing the seeds around in the lemon juice, trying to get them out. Those little guys are slippery - it’s harder than you’d think it would be!
Serrated Knife - a really good serrated knife is a must for biscotti. I use one that’s clearly intended for beef (because it has two little prongs on the tip), but it has the biggest “teeth” of any of my knives so it’s a winner in my book.


step 2: combine the wet ingredients
In a large bowl or mixer bowl, cream the butter for 30 seconds or so. Add the sugar and grated lemon peel and beat until combined, scraping down the sides as necessary. Beat in the whole eggs, one at at time, then the lemon juice.
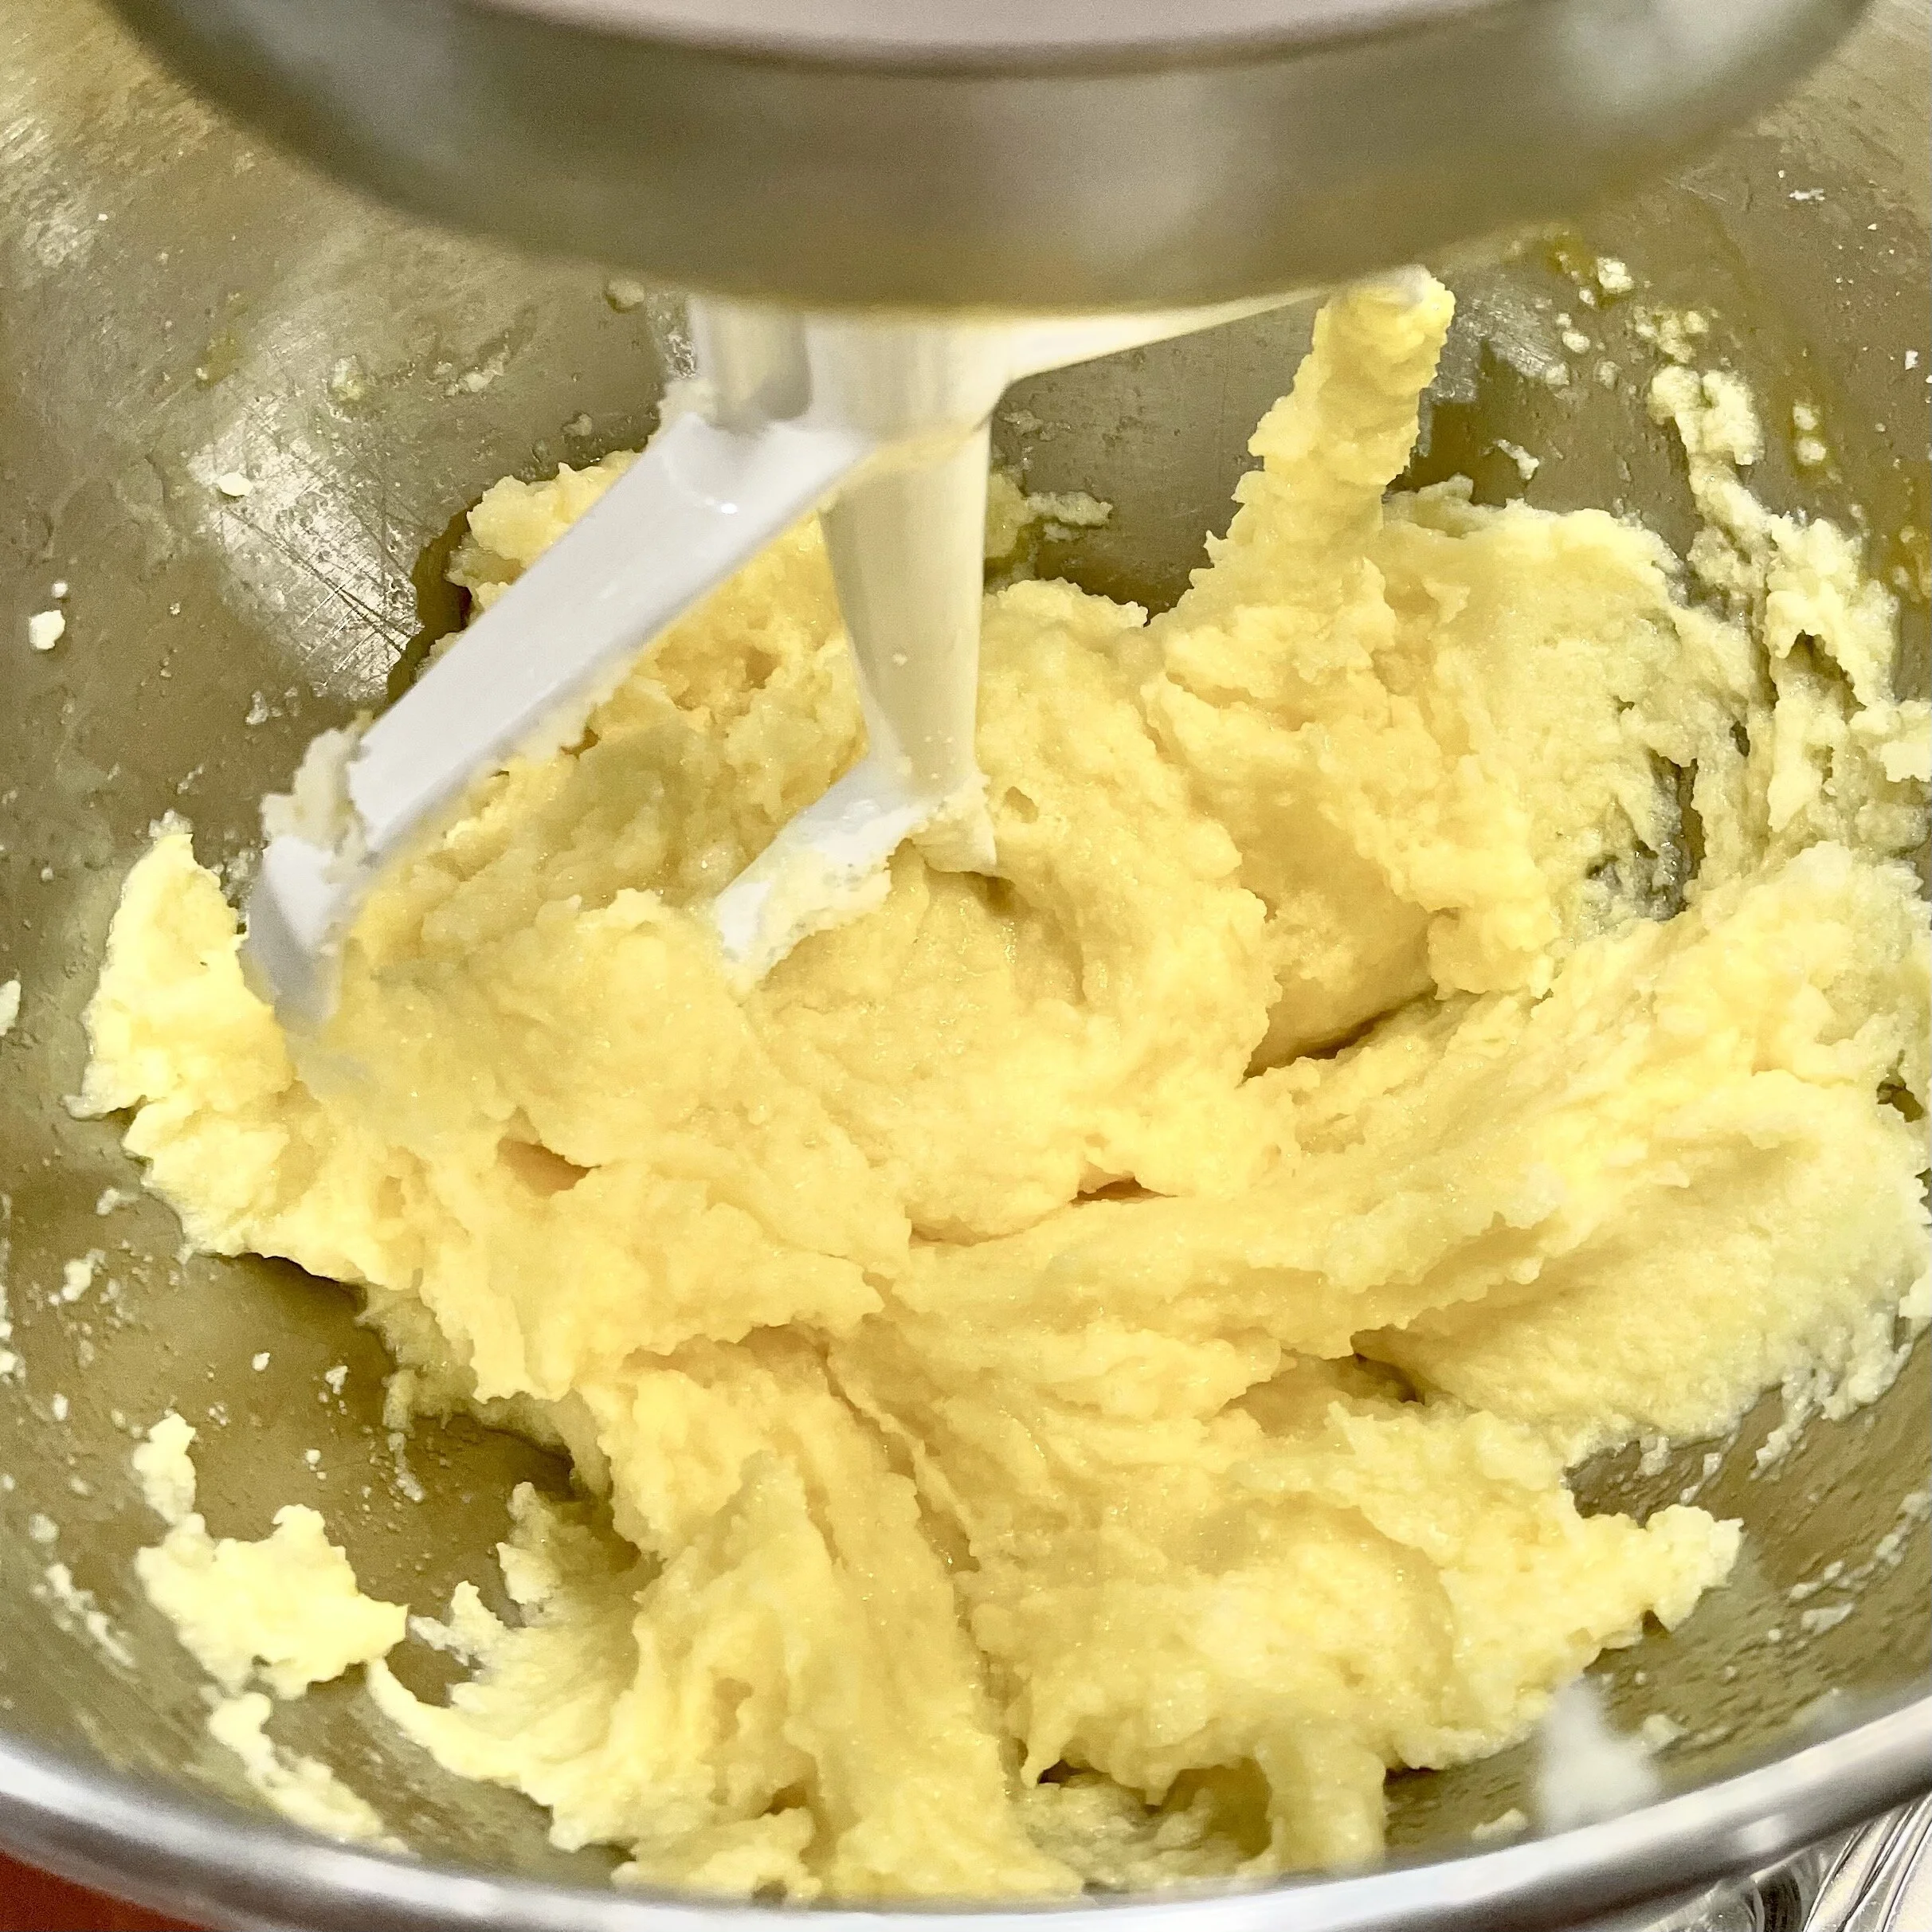
butter + lemon zest + egg yolks = super yellow dough!!!
step 3: add the dry ingredients
In a separate bowl, combine the flour, baking powder, salt, and baking soda. Whisk together with a fork or wire whisk. Add to the wet ingredients in small amounts and beat on low speed until combined. Using a wooden spoon, mix in any ingredients left in the bottom of the bowl that didn’t get incorporated with your electric mixer or hand mixer. If you’re using a hand mixer, you may have a good amount left to mix in. Biscotti dough is really tough and mixing with a hand mixer would be a quality forearm workout!
step 5: prepare to bake
First, make sure your baking sheet will fit in your refrigerator. Don’t skip this part. It would suck to get to the end of this paragraph and realize you need a different baking sheet… just trust me on this one…
Divide the dough into thirds (just eyeball it - this is going to be a messy process, anyway, so no need to make yourself crazy trying to get equal thirds). Take one section of dough in your hands and work it into a log around 12” long. Place the log on one end of a parchment-lined baking sheet. Repeat with the other two thirds of dough. The original recipe calls for placing the dough logs 3” apart but that’s too close. I’m not asking you to get your ruler out here, but place them as far apart on the baking sheet as possible. Using your hand, flatten each log to no more than 1” thick. Brush each log with the egg white and sprinkle the turbinado sugar on top. Place the whole baking sheet in the fridge for at least 15 minutes.

Biscotti “loaves”. They’re not attractive.
step 6: bake your biscotti
Preheat your oven to 325 degrees.
Bake your biscotti for 25-30 minutes, or until golden brown. Turn your oven off and let your biscotti loaves (that’s the nicest thing I can say about how they look at this point…) rest on the baking sheet for 45 minutes. Yes, a FULL 45 minutes. Don’t get all impatient on me here and jump the gun. I know, I know - waiting isn’t easy. It’s kinda like when I was in my 20s and I’d be stuck in the Virtual Waiting Room trying to get Red Sox Opening Day tickets. It seemed like that little guy NEVER moved!!! This is really similar to that… except this isn’t about a super fun social event, this is about biscotti. Wow, have I changed… Anyway, go distract yourself for 45 minutes and then come back to your biscotti.
With about 10 minutes to go, turn your oven back on at 300 degrees.

Whoops. They’re not supposed to be this cozy with one another…
step 7: finish your biscotti
Take one of your biscotti loaves off of the baking sheet and place it on a cutting board. With your extra serrated knife, slice on an angle into pieces that are 3/4'“ to 1” wide. Two things to keep in mind here: 1) you’ll end up throwing away the ends, and 2) do NOT move your knife back and forth as if you’re cutting a steak - just press it down into the biscotti to create the slices. Moving the knife back and forth with make your biscotti crumble - and no one wants crumbly biscotti.
Place slices, cut side down, on the same baking sheet and bake for 7 minutes on each side. Remove from the oven and leave on the baking sheet to cool.

Mistakes Made…
I made three mistakes here, one that’s VERY noticeable from my pictures and two that are not…
Mistake #1: Placing the biscotti logs too close to one another. They totally morphed together in the oven. No biggie - when they were still hot from the oven, I took my serrated knife and pressed it through the seams to separate the logs. They then cooled separately, as they should.
Mistake #2: My oven never truly preheated. I won’t bore you with exactly what happened, but just know when I thought my oven was at 325 degrees, it was only at about 150 degrees. At the end of what I thought was my full cooking time, not much had changed. Grrr. When I realized what had happened, I took the biscotti out of the oven to fully preheat it, then cooked them (again) for the full 25 minutes.
Mistake #3: I completely forgot the egg white wash and turbinado sugar on top - how did I do that?! That’s the best part! Don’t be like me, don’t forget your sugary topping!!!!
Enjoy, my friends :)