
Super Easy Cinnamon Sugar Cookies

DAY 1, 2020
If you’re a child of the 80s you know what I mean when I say there’s NOTHING like a Mrs. Field’s cookie. It was next to impossible to walk by the store in the mall without stopping for a cookie - which is why our cookie game was COMPLETELY CHANGED the year my mom brought home the Mrs. Field’s Best Cookie Book Ever! I could swear we’ve had the book since I was little but just today I looked at the copyright and it was only written in 1996, and I was solidly in high school at that point. But that should tell you something about this cookbook. I feel like it’s been part of our holiday tradition forever. When linking to it here I realized it’s not even in print any more, which is an honest-to-God travesty in the cookie realm. I’ve always been careful with it and now that I know it’s a relic I’ll need to put it in the vault!
However, while many of the cookies in the book taste just like I remember from the stores, they never come out quite the same. That sneaky Mrs. Fields - her recipes were always known to be trade secrets and she wouldn’t even give them up for the sake of selling cookbooks! This cinnamon sugar cookie recipe is no different - I remember the Mrs. Field’s Cinnamon Sugar Cookies as big, soft, chewy disks of deliciousness. While these taste exactly like I remember, they’re much thinner than the real thing. This is nothing more than a basic sugar cookie rolled in a mixture of cinnamon and sugar before baking, so there’s no trickery here. I swear the real Mrs. Field’s cookies must have shortening in them because you’re just not going to get that height out of a sugar cookie without it. I’m on to you, lady.
That being said, they’re still TOTALLY delicious. Traditionally, I’d use cookies like this as filler cookies in my holiday gifts - the ones that are really yummy but not so pretty are good for bulking up the bottom of the basket so that the more festive-looking cookies can shine on top. But I figured they’re a good one to start with here because they’re SO easy and something a little different than the tried-and-true chocolate chip cookie. These are poppable. Don’t say I didn’t warn you.

step 1: gather your ingredients
Preheat your oven to 300 degrees, then get organized.
It sounds so simple, but getting everything you need out on the table in front of you will make your baking experience easier and more fun. Plus, it ensures you have everything you need to complete the recipe so that you don’t get five steps in and realize you’re out of vanilla extract. Not that I’m speaking from experience, or anything.
step 2: combine the dry ingredients
Combine the flour, baking soda, and salt in a large bowl and whisking it all together for 30 seconds or so. Just makes sure it’s all mixed together really well - I don’t even use a whisk here, I just use a large fork. It does the job.
step 3: mix the sugars with the wet ingredients
In a stand mixer or with a hand mixer, beat the sugars together on medium speed until completely incorporated with one another. Add the butter and beat again until it turns into a grainy paste, scraping down the sides when necessary with a spatula. Feel like licking the spatula at this point? I don’t blame you, butter and sugar together is delicious. If you’re making the cookies just for your immediate family, then go ahead - I don’t judge. Then, pull yourself together and add the eggs and vanilla and beat again until it’s all incorporated. Again, you may need to scrape down the sides once or twice.

Any recipe with multiple sugars is going to be delicious.

The delicious, delicious marriage of butter and sugar.
step 4: combine everything
Add the dry ingredients to the wet ingredients and beat everything together - very carefully. Patience is definitely a virtue here. Add the dry ingredients in three or four parts, allowing each part to get completely incorporated into the cookie dough before adding the next. Not only does this allow everything to mix together nicely, it also prevents you from getting covered in a cloud of flour as if you’re in an old I Love Lucy episode. Patience, grasshopper, patience.
step 6: prepare for assembly
Get yourself ready for some efficient cookie assembly. The first step? Put the dough in the refrigerator for 15 minutes or so. This will result in fluffier cookies when all is said and done.
Next, cover your baking sheets with parchment paper (either cut it to the exact size of your sheet OR fold any excess under itself on the sheet). Prepare your topping by mixing together the cinnamon and sugar. Get your cookie scoop ready. Line everything up assembly-line fashion.
A word to the wise here - this recipe calls for a significant amount of cinnamon. If your little ones are sensitive to any kind of spice, like a lot of kiddos are, try cutting the amount of cinnamon called for in half (to 1 1/2 tsp.)

Parchment paper needs to fit the size of the pan so the excess doesn’t burn. Either cut it to size or fold it over under itself, like I did on the top here.

My assembly line ran right to left because that’s what I did. This isn’t brain surgery, we’re making cookies here.
step 6: cookie assembly
Using a 1” cookie scoop will make your life a whole lot easier here. Alternatively, you can use the old fashioned 2-spoon drop cookie method, but it’s infinitely more messy and harder to keep your cookies in a uniform size.
Is your dough sufficiently chilled? Great - you may now proceed.
If you’re using the aforementioned cookie scoop, scoop the dough and then scrape your cookie scoop on the side of the bowl to remove any excess dough. Alternately, scoop the dough with a spoon and roll in your hand to create a 1” ball. Drop your dough into the topping mixture and roll it around until it’s covered on all sides. Place each covered dough ball on the cookie sheet about 2” apart. In full disclosure, I usually place mine about 1 1/2” apart. It’s not always enough, and it wasn’t here - some of them ran together. But I’m okay with sacrificing a little bit of cookie shape perfection. If you’re living out your Martha Stewart fantasies (minus the whole Martha-goes-to-prison phase), go with the full 2”.
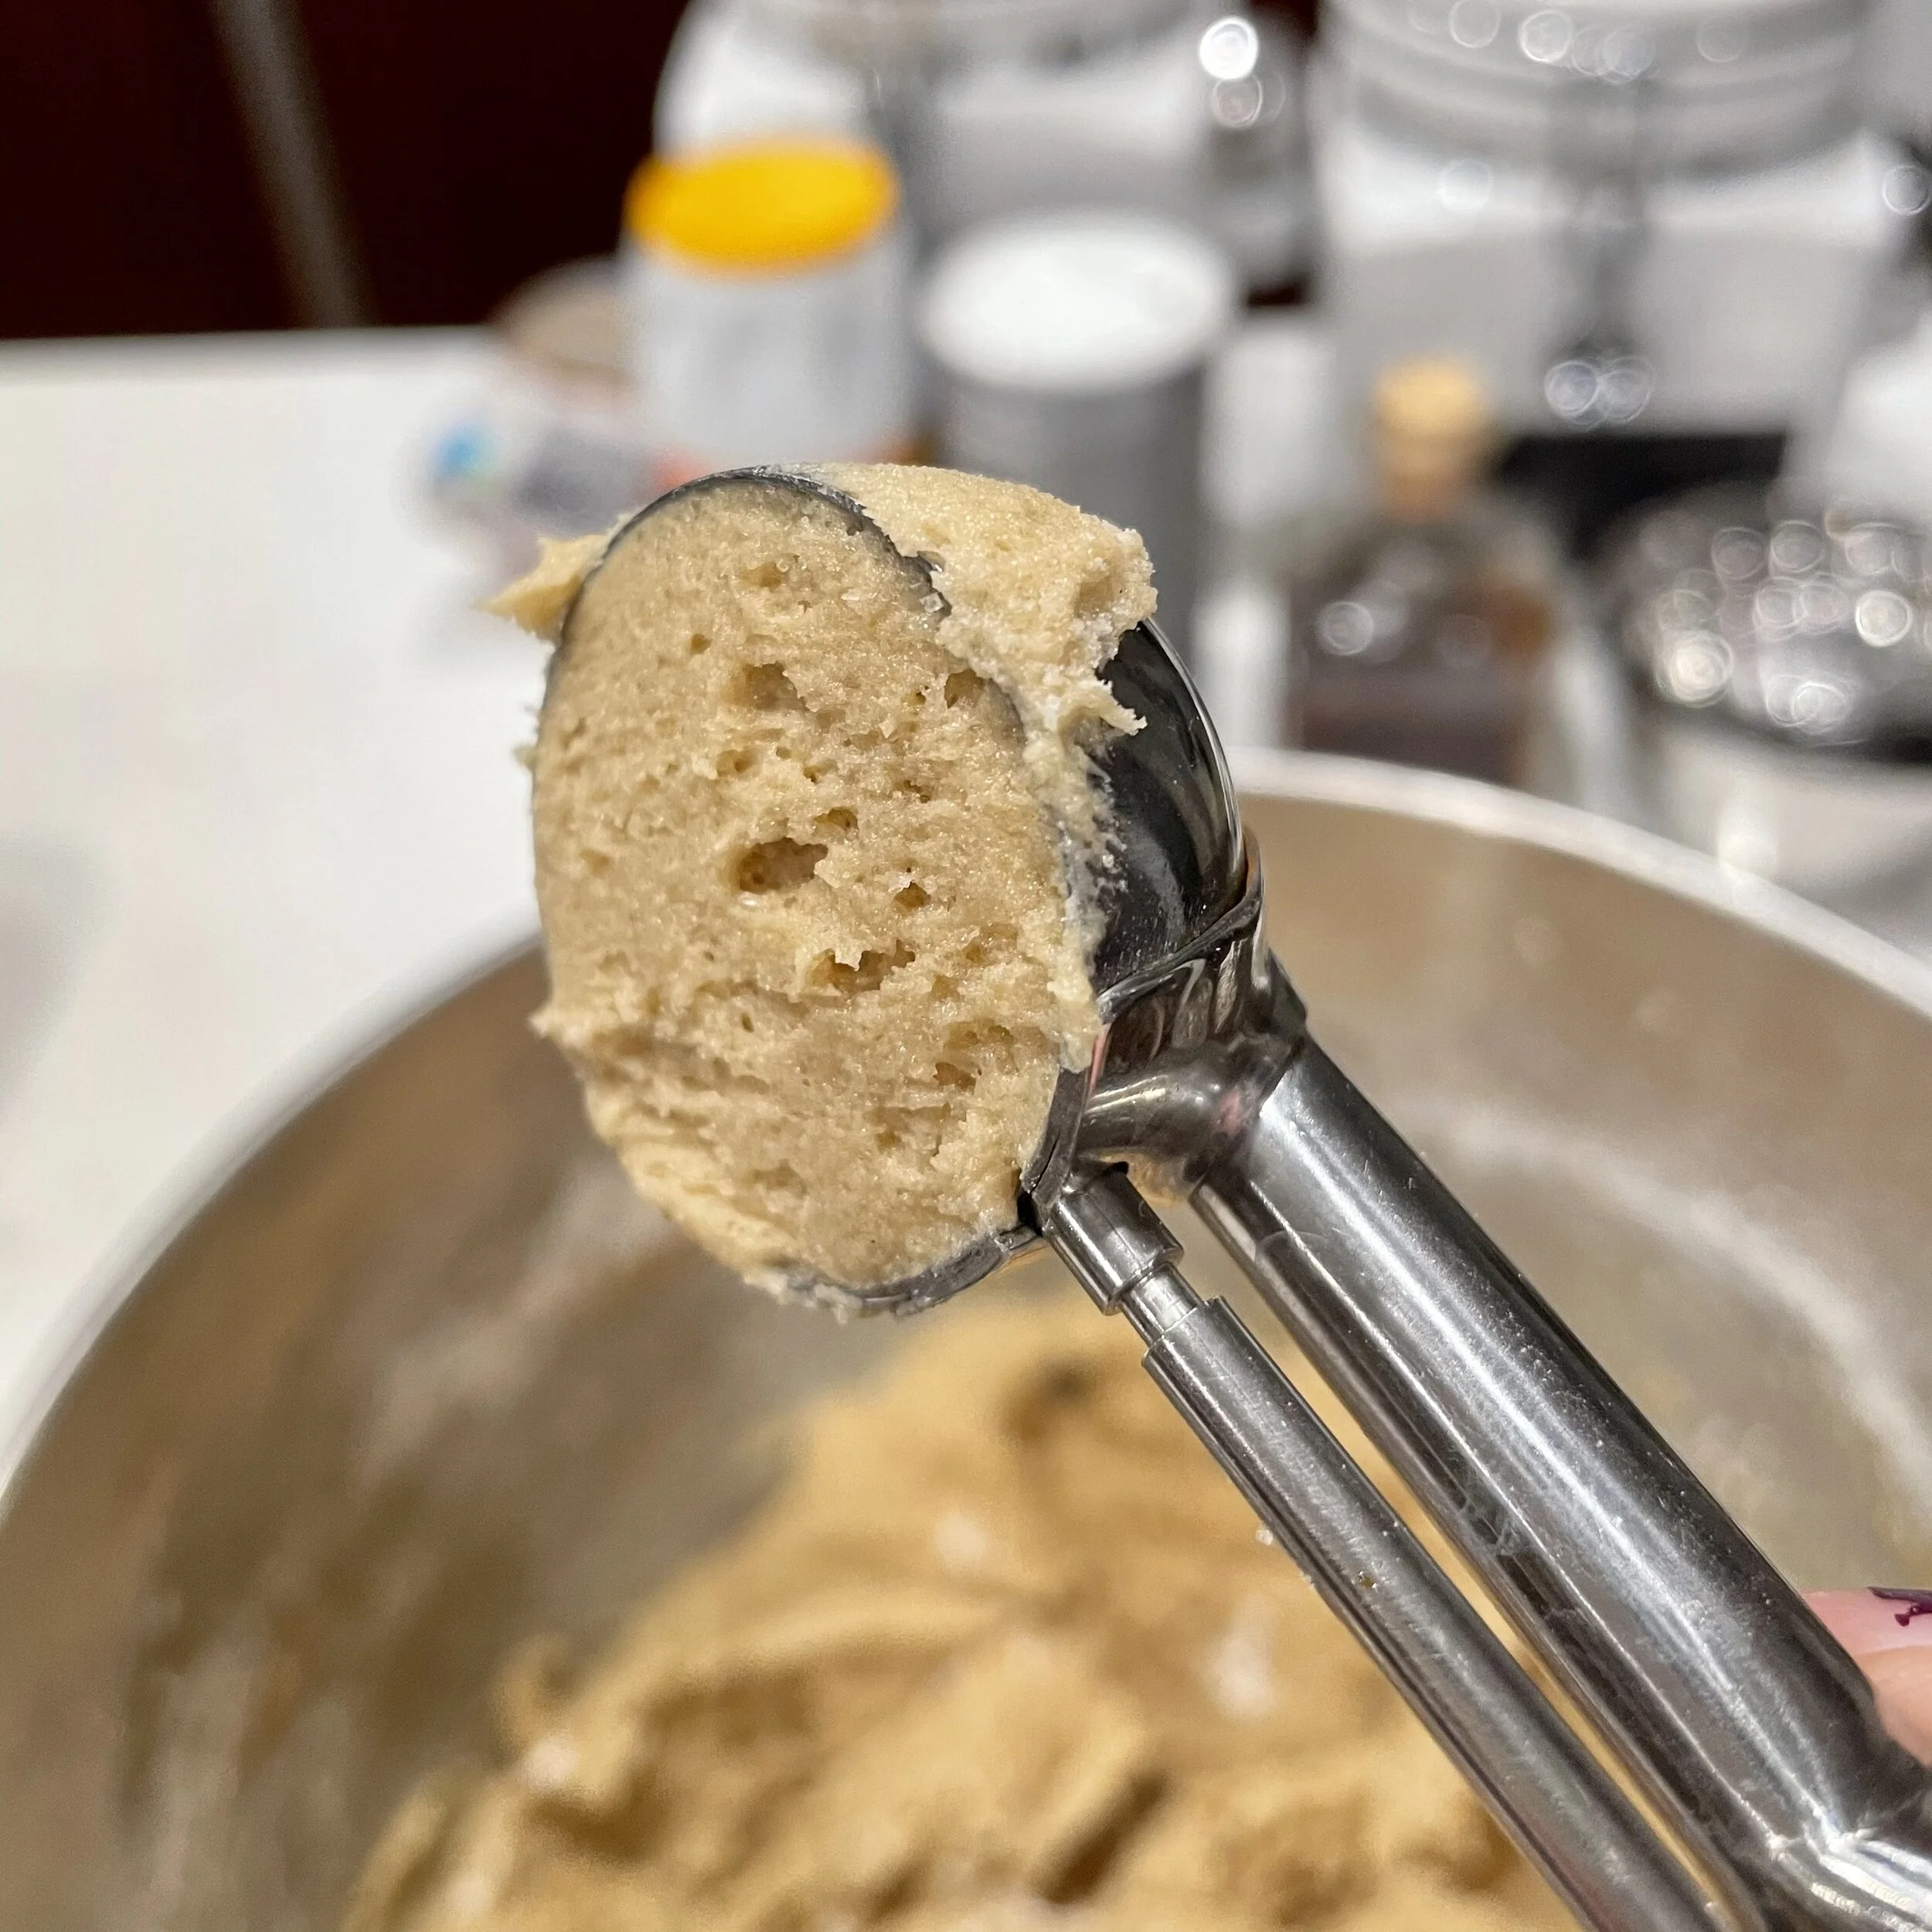
Scraped cookie scoop. We’re not scooping ice cream here, folks.

It’s like Where’s Waldo, cookie edition - can you see it???

I line my cookies up like this because I am a nerd and I like math. Then I fill in the grid.

This process is messy. You wash your hands a lot when making cookies!
step 7: bake your cookies
This is where I have a major disagreement with most cookie recipes. This one says to bake the cookies for 18 to 20 minutes, but I’m here to tell you that’s going to be way too long for 90% of ovens out there. I’ve baked cookies in my fancy schmancy double oven, the tiniest little glorified toaster oven, and practically everything in between. While each oven acts a little differently, if you cook most cookies for the full time listed on the recipe they will often be quite crispy, if not burnt. This is because cookies will harden up after coming out of the oven as the sugar in them comes back to room temperature.
I typically bake these cookies for 15-16 minutes, just until the center is no longer jiggly. Then I let them cool on the cookie sheet for a minute before transferring them to a wire rack to cool completely. This results in chewy, delicious cookies rather than crispy, crunchy cookies.
Again, in full disclosure, I made the mistake of heating my oven to 350 rather than 300 this time, resulting in only needing to cook them for 9 minutes (9 minutes!) and I didnt even figure that out until my third and last tray went in the oven. The moral of the story? Watch your cookies more than your kitchen timer and take them out when they’re just shy of done.

My first batch was overcooked. See how I was able to stack the ones on the left on the rack? You shouldn’t be able to do that with cookies that are straight out of the oven. They should be soft enough that they need their own space on the rack, like the ones on the right.
step 8: eat your cookies
Cookies typically freeze well. They also refrigerate well and will keep there for a couple of weeks. But, who are we kidding? You’re going to eat your cookies.
As I was pulling these out of the oven, I heard a little voice (that should have already been in bed) coming from upstairs saying, “Mommy? Are you baking cookies? I can smell them!” So I let him sneak down the stairs and steal one from the cooling rack. He should get some perks for being the oldest :).

My first bite - a bit crispy but delicious nonetheless.

A reward for being out of bed? Only at Christmastime. And because I just love him so much.
real life baking is messy…
Even though I’m a master cookie maker (a distinction I’ve bestowed upon myself) there’s often a mistake or two I make with every batch. I’m not a professional - I mass-produce cookies only once a year. Remember: Once A Year Baker…
This time I made not one, not two, but three pretty big mistakes. What can I say? The first batch of the year is always a little rough as I get back on that saddle again…
MISTAKE #1: Using old baking soda. It’s true, baking soda and baking powder don’t last forever. While baking powder will have an actual expiration date on the can, with baking soda you just have to kinda know how old it is. Just start with a fresh box each year. They cost like 99 cents - it’s worth the investment for fluffier cookies.
MISTAKE #2: Not refrigerating my dough. I totally spaced on this part. Don’t do what I did - refrigerating the dough really makes a difference in the chewy-factor. It literally changes the consistency of your cookies - in a good way.
MISTAKE #3: Using the wrong oven temperature. As if I can’t read a recipe. The temperature of your oven matters - a lot. Luckily, though, I watched my cookies more than my timer (as mentioned above) and saved them before disaster struck.
Even with all of these mistakes, my cinnamon sugar cookies still turned out pretty well. Cookies are forgiving - you don’t need to be perfect to make them delicious.
I hope you enjoy this recipe with your little ones, too. Happy holidays, my friends :)