
The Chocolate Crinkle Cookies You Need In Your Life

DAY 3, 2020
If I could eat only one kind of cookie for the rest of my life, this would be it.
{Cue UFC Announcer Voice} Ladies and Gentlemen, I give you the best cookie in the woorrrlllldddd!!!!! Weighing in at just a few ounces, from your very own kitchen, here is… the Chocolate Crinkle Cookie!!!!!
For real, though, these are truly little bites of heaven. They will fulfill all of your chewy, gooey, chocolatey fantasies without being the least bit heavy. They melt in your mouth and leave you dreaming of more. They’re that good.
I’ve been making these for years and they’re a hit every time. I’ve put them in the cookie baskets (obvi), I’ve brought them to parties and watched as each and every one disappeared without a trace, I’ve made whole batches as gifts for friends who are equally obsessed with them (you know who you are, Erin Holt). I’ve even been known to put a few spoonfuls of the dough in a ramekin and eat it straight up - like an ANIMAL. Don’t judge me.
In my single days, I often thought these cookies would be the key to any man’s heart. Alas, I married an M&M fiend. He really likes these cookies, but M&M cookies truly have his heart. Other than me. Maybe. If he had to choose between me and M&Ms he’d definitely hesitate a second before making the right choice. You’d better believe those will be coming to this series later on…
For now, let’s get down to it. Because you NEED this chocolate crinkle cookie recipe in your life. I promise, I wouldn’t steer you wrong.

step 1: gather your ingredients
This recipe’s ingredients are so basic you likely already have them in your home. You don’t even have to soften butter for this one - it couldn’t be easier.
step 2: mix your wet ingredients together
Add sugar and oil to a large bowl or mixer bowl and beat at medium speed until incorporated. Add cocoa powder and beat again, slowly at first so as not to cover your kitchen in a coating of cocoa powder. At this point, it will look like coffee grounds. Add eggs and vanilla and beat again until completely incorporated. Always have a spatula in hand to scrape down the sides of your mixing bowl, if necessary. It’s not as big of a deal in this recipe as it is with others, but it’s still something to keep in mind.

After adding cocoa, before adding eggs. Looks like coffee grounds but tastes SO much better.
step 3: mix together your dry ingredients and add to wet ingredients
In a separate bowl, mix together flour, baking powder, and salt by whisking them with a fork. Or a whisk, but I find whisks annoying to clean so I don’t use them unless absolutely necessary. Forks are just easier. Add these dry ingredients to your wet ingredients in 3 or 4 parts, beating until each part is fully incorporated into the wet ingredients before adding the next. What you have now is the most unbelievably delicious cookie dough on the planet. Do what you will with that informaiton.
Cover your bowl (I like to use Press n’ Seal for this part) and refrigerate for at least 6 hours or up to a day.

Using fractions wisely can keep you from having to do more dishes than necessary. Here, I used seven 1/3 cups of flour to get to the 2 1/3 c. total required for the recipe.

So yummy. You’re welcome.
step 4: assemble your cookies
Preheat your oven to 350 degrees.
Dump some powdered sugar in a small bowl. The exact amount doesn’t’ matter here - just add some and if you have to add more later, add more later.
Using a 1” cookie scoop (don’t even try to do this without a cookie scoop - your hands will be caked in chocolate dough), scoop up dough, scrape the scoop on the side of the bowl, and drop the dough ball into the bowl of powdered sugar. Using your fingers, roll the dough ball around to completely coat it in the powdered sugar. you don’t have to make the dough ball perfectly round here. Work with the flat edge the cookie scoop naturally creates and place that flat edge down on your parchment-lined cookie sheet. Repeat the process until all of the dough has been turned into sugared balls of chocolate, placing them about 2” apart on your baking sheet.

Lining everything up for cookie assembly.

Scraping the cookie scoop on the bowl ensures your cookies are all the same size.

Use that flat edge on the bottom of the cookie created by scraping the scoop and place it down on the baking sheet.

Sometimes I get wild and crazy by lining up the edges of the baking sheet first before filling the rest in. So crazy!!!
step 5: bake your cookies
The original recipe calls for baking these cookies for 12-14 minutes, or until your finger doesn’t leave an indentation when you press on a cookie. Lemme tell you, baking these for that long would be a travesty. These little bites of goodness harden up quite a bit after they come out of the oven. If you cook them for as long as the original recipe calls for, you’ll end up with chocolate hockey pucks.
I want you to intentionally under-cook these bad boys, even more than I typically would. For reference, my cookies took about 9-10 minutes. Watch your cookies and take them out when they’ve been full size for a minute or two but still look a tiny bit wet through the powdered sugar cracks. Let them sit on the cookie tray for 1 minute and then try to transfer them to a cooling rack. If you can cleanly slide your spatula under the cookie and transfer it without the cookie drooping or falling apart, they’re done. If you can’t make that transfer cleanly and have to put them back in for a minute, no harm no foul. But if you overcook them, there’s no going back.

Take your cookies out of the oven when they still look a little shiny between the cracks in the powdered sugar.

See how the cookie started to scrunch up when I tried to move it? These guys weren’t done and got an extra minute in the oven after this.

Same cookie, cooked one minute longer. Perfect cookie sheet to drying rack transfer!
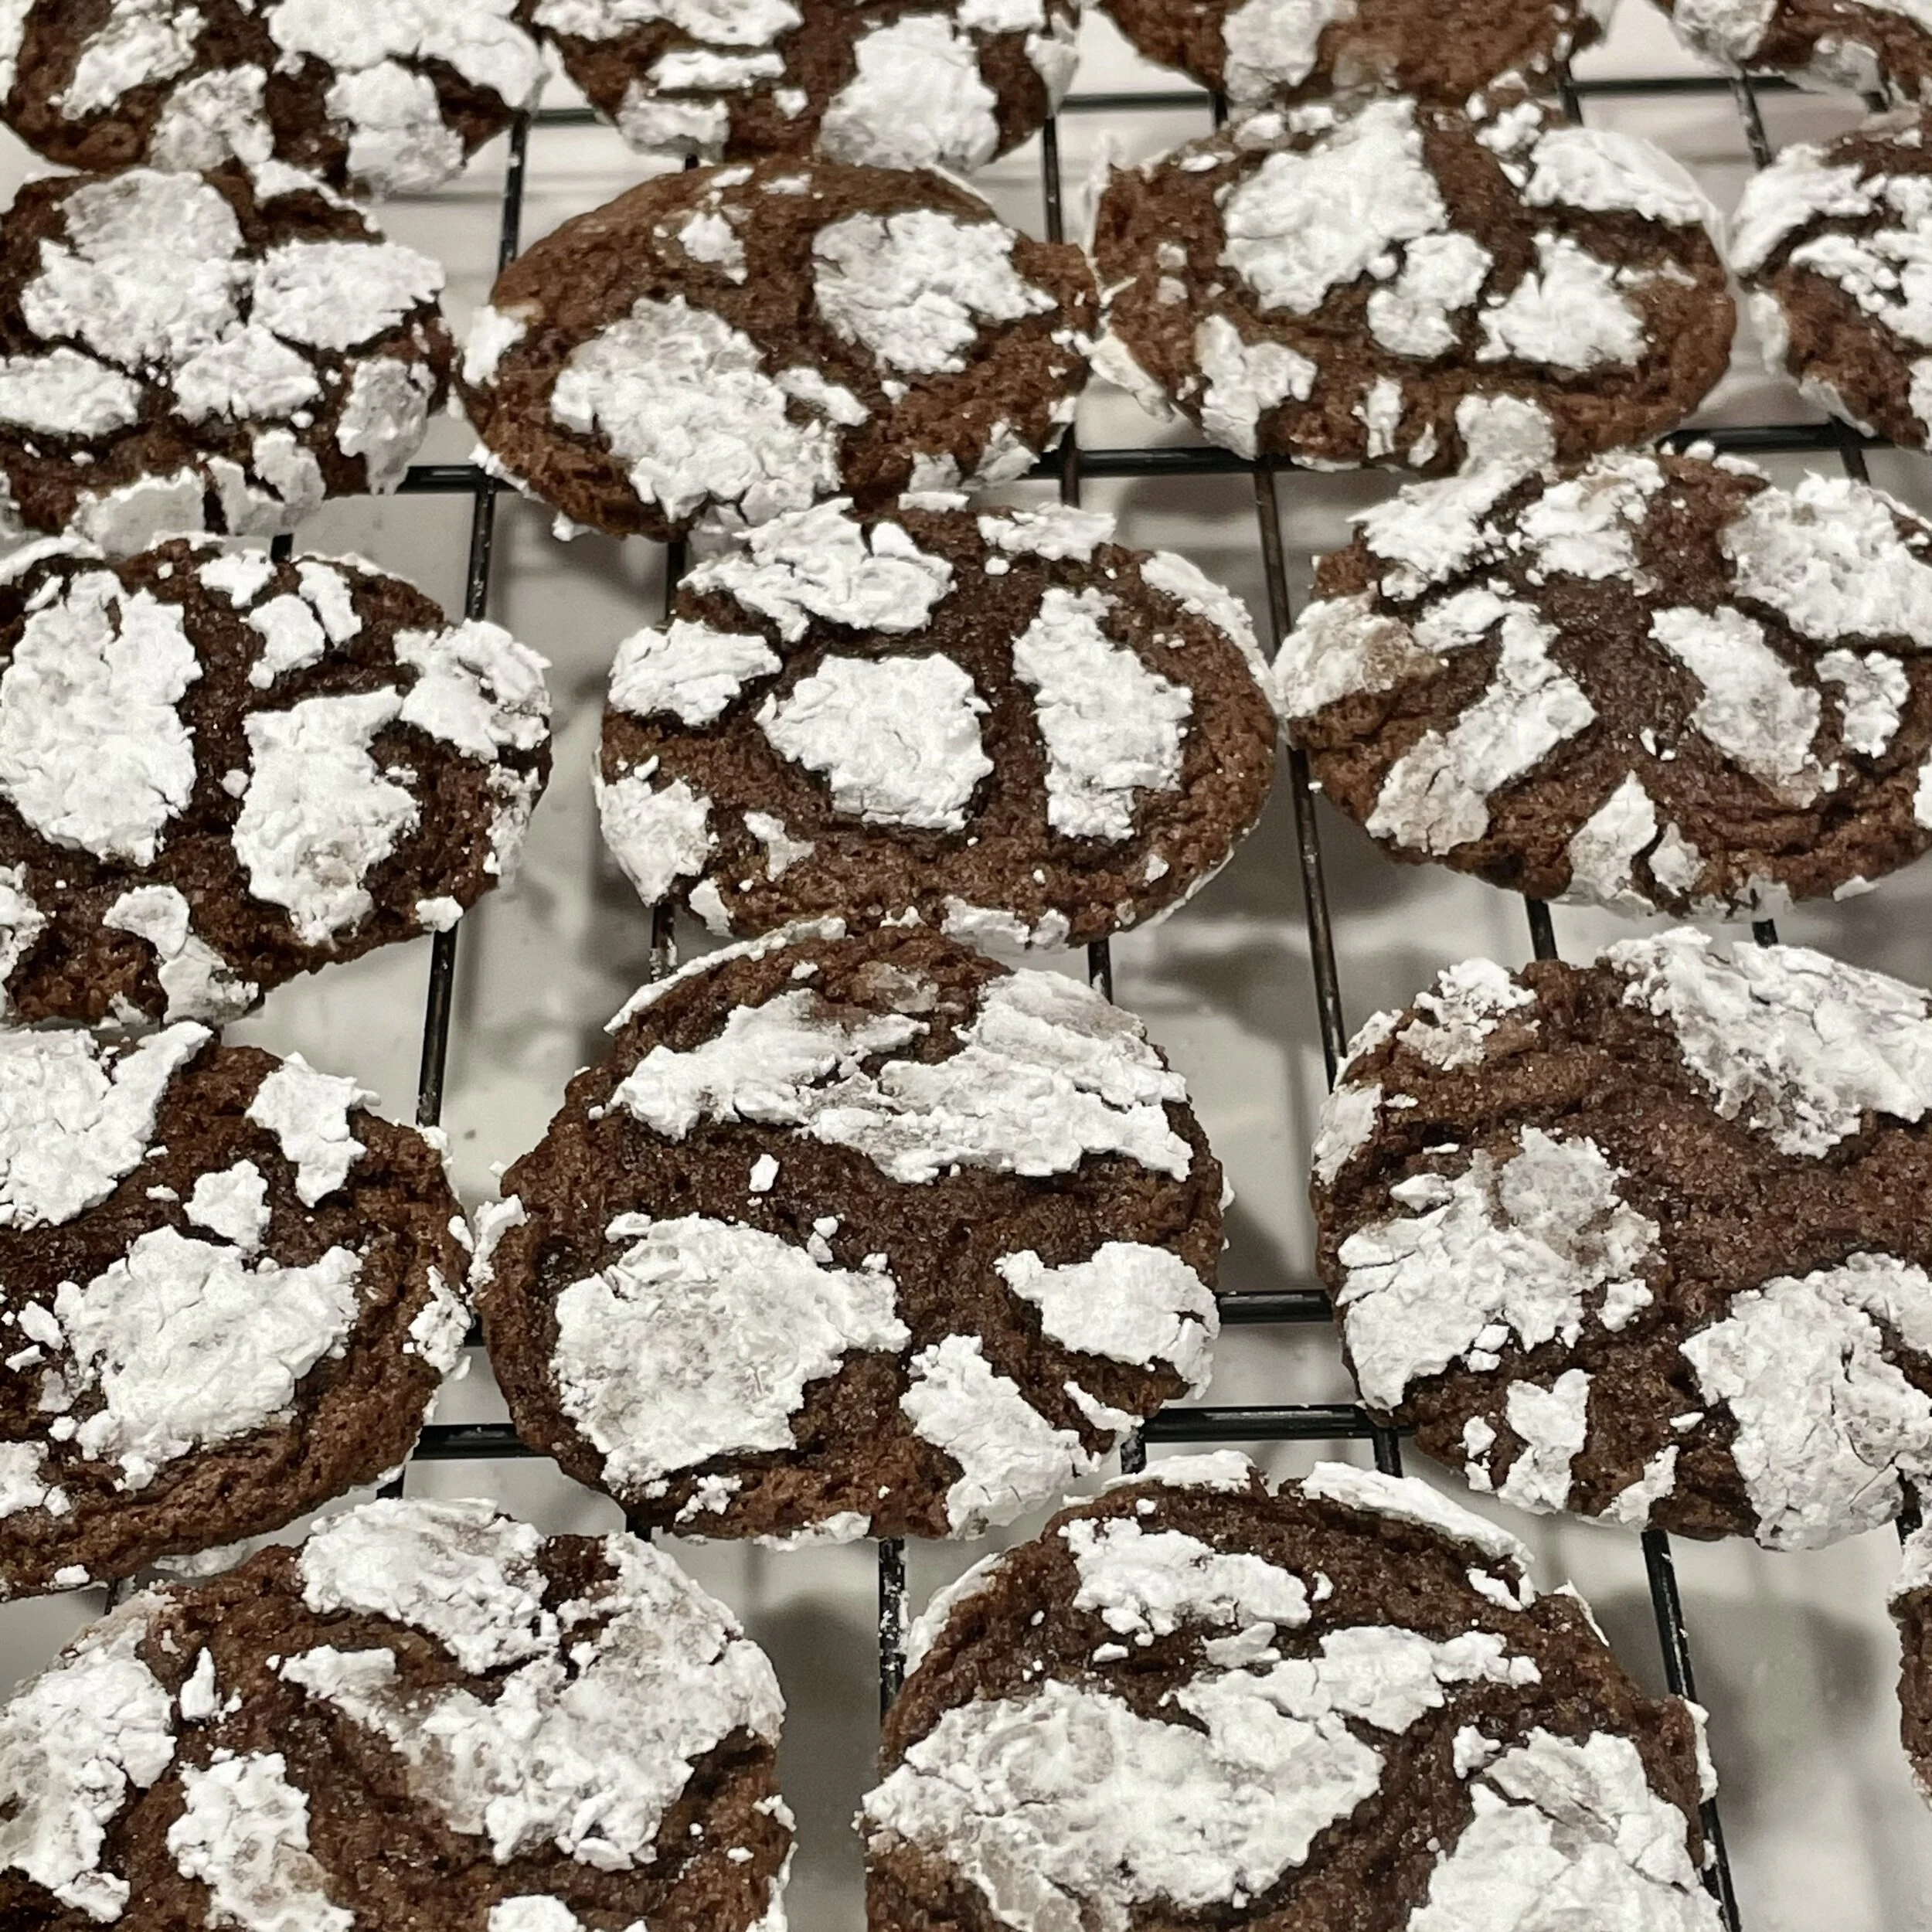
Don’t they just look delicious?!?!
Mistakes Made
None - this time, at least! I’ve made these cookies so many times over the years I could probably do it without the recipe. Like anything else, practice makes perfect and I didn’t have any major errors when cooking these this year. Phew.
And there you have it - my favorite cookie of all time. Trust me when I say you’re going to find excuses to make this cookie all year long.
