
Grain-Free Canine Cookies

WE’RE GETTING A PUPPY! WE’RE GETTING A PUPPY! ON SATURDAY!!!!!!!!!!!!!!!!!!!!!
OMG you guys, I am SO excited and we haven’t even told our kids yet! They know (conceptually) that we’re getting a puppy sometime relatively soon… they just don’t know it’s less than 3 days away! The only downside? I have to travel 5 hours each way to Bar Harbor, Maine to get this little guy. In the middle of COVID, when stopping to pee in a public restroom is hazardous to your health… I will be masked (obvi)! I will wear goggles! I will carry Lysol! I will carry my own toilet paper! I will not touch anything!!!
I’m sure many of you know we lost our dog, Wally, this summer. Wally had been with me since the good ole days of my 20s when we lived in Boston - and he was still a city dog at heart. He was a little white spitfire - the dog my parents gave me for Christmas when I finally lived in a place where I was allowed to have a dog so that I wouldn’t try to have a Golden Retriever in a 5th floor, 600 sq ft apartment. For many years, he was a big personality in a tiny little package. And he was awesome - he was such an awesome dog!
He was already an older dog by the time we had our kids, so he spent more time trying to stay out of their way (for his own self-preservation) than playing with them. But he was always by my side, always concerned with the kids when they were hurt or upset, and always happy to see us when we walked through the door. When he got sick, he went downhill pretty quickly - and the day I put him down I was at peace knowing he wouldn’t be in pain anymore. But my heart was still broken, and I still miss him every day.
However, as I told my husband a hot second after we started dating, “I always come with a dog - we’re a package deal.” So, here we are - three days from a new puppy, two days from telling our kids they are getting a new puppy, and covertly trying to puppy-proof the house without tipping our hands to a curious 5-year-old and an overly perceptive 3-year-old.
In honor of our new family member, I figured I share a recipe for grain-free dog treats - because pets deserve holiday cookies, too! In full disclosure, I have actually tasted these - hey, I was curious! I didn’t love them but, then again, I’m not a dog - so, my opinion doesn’t mean much here. Also, I love that these are not only grain-free but also super easy with simple, whole ingredients. Only the best for the furry members of our families!

step 1: gather your ingredients
This recipe couldn’t be simpler. The only slightly off-beat ingredient you’ll need is coconut flour. With the prevalence of grain-free diets, alternative flours can be found in the baking aisles of most grocery stores these days.
Also, the only measuring cup I used for the whole recipe was a 1/2 c. measure. I’m all for less cleaning!
Preheat your oven to 350 degrees and get ready to mix up your puppy cookies.
step 2: mix everything together
Measure out your coconut oil while it is solid, then microwave for 30 seconds or so in a ramekin or other small microwave-safe bowl to melt. Set it aside for a few minutes.
In a large bowl, add coconut flour, peanut butter, eggs (no need to pre-whip these guys, just crack ‘em right into the bowl), and pumpkin puree. Add coconut oil and mix everything together with a fork. This dough is pretty easy to work with at this point, you just need to make sure all of the coconut flour gets incorporated into it. Be really careful about the very bottom of the bowl where flour likes to hide undetected… don’t let that happen.

Other than what you use to heat you coconut oil in, this is a one bowl recipe. Hooray for fewer dishes!!!

Completely mixed and ready to roll using just a fork and some elbow grease.
step 3: cut out your doggie cookies
Gather all of the dough into a ball with your hands. You’ll need to knead it a bit to get it to stick together.
Because these dog treats are grain-free, they’re more likely to fall apart than their gluten-containing relatives. Therefore, I find it easiest to use either wax paper or a silicone baking mat to roll these out. This allows you to physically get a hand under the cut-out cookies to get them off of the surface and onto you parchment-lined baking sheet. If you’re using wax paper, slightly dampen the counter with a sponge first to allow the wax paper to stick and prevent it from moving around on you.
Lightly flour your surface with more coconut flour, place your dough ball on it, and then place a piece of wax paper on top, squishing the dough ball into a disc. Using a rolling pin and very light pressure, roll the dough out until it is approximately 1/3” high. Again, because this recipe is grain-free and prone to breaking, you can’t let the dough get too thin or you’ll never make that transfer to the baking sheet cleanly.
Using your dog’s favorite cookie cutter (just make your best guess…) cut out dog treats and place them on the baking sheet. These won’t spread at all in the oven so you can place them very close together. I find it easiest to press my cookie cutter into the dough with my right hand and then pull away as much excess dough as possible. I then get my left hand under my baking mat, pushing the cookie off of the baking mat from the back with my left hand while squeezing the cookie cutter ever-so-slightly with my right hand in order to hold the cookie in there while I transfer it to the baking sheet. Once there, I use the index and middle fingers on my right hand to push it through the cookie cutter from the top, freeing it to fall onto the baking sheet. If it breaks in the process, no biggie - just add the broken dog treat to the scrap pile to be balled up and rolled out again. Continue this process until there is no dough left.

Remove as much excess dough as possible.
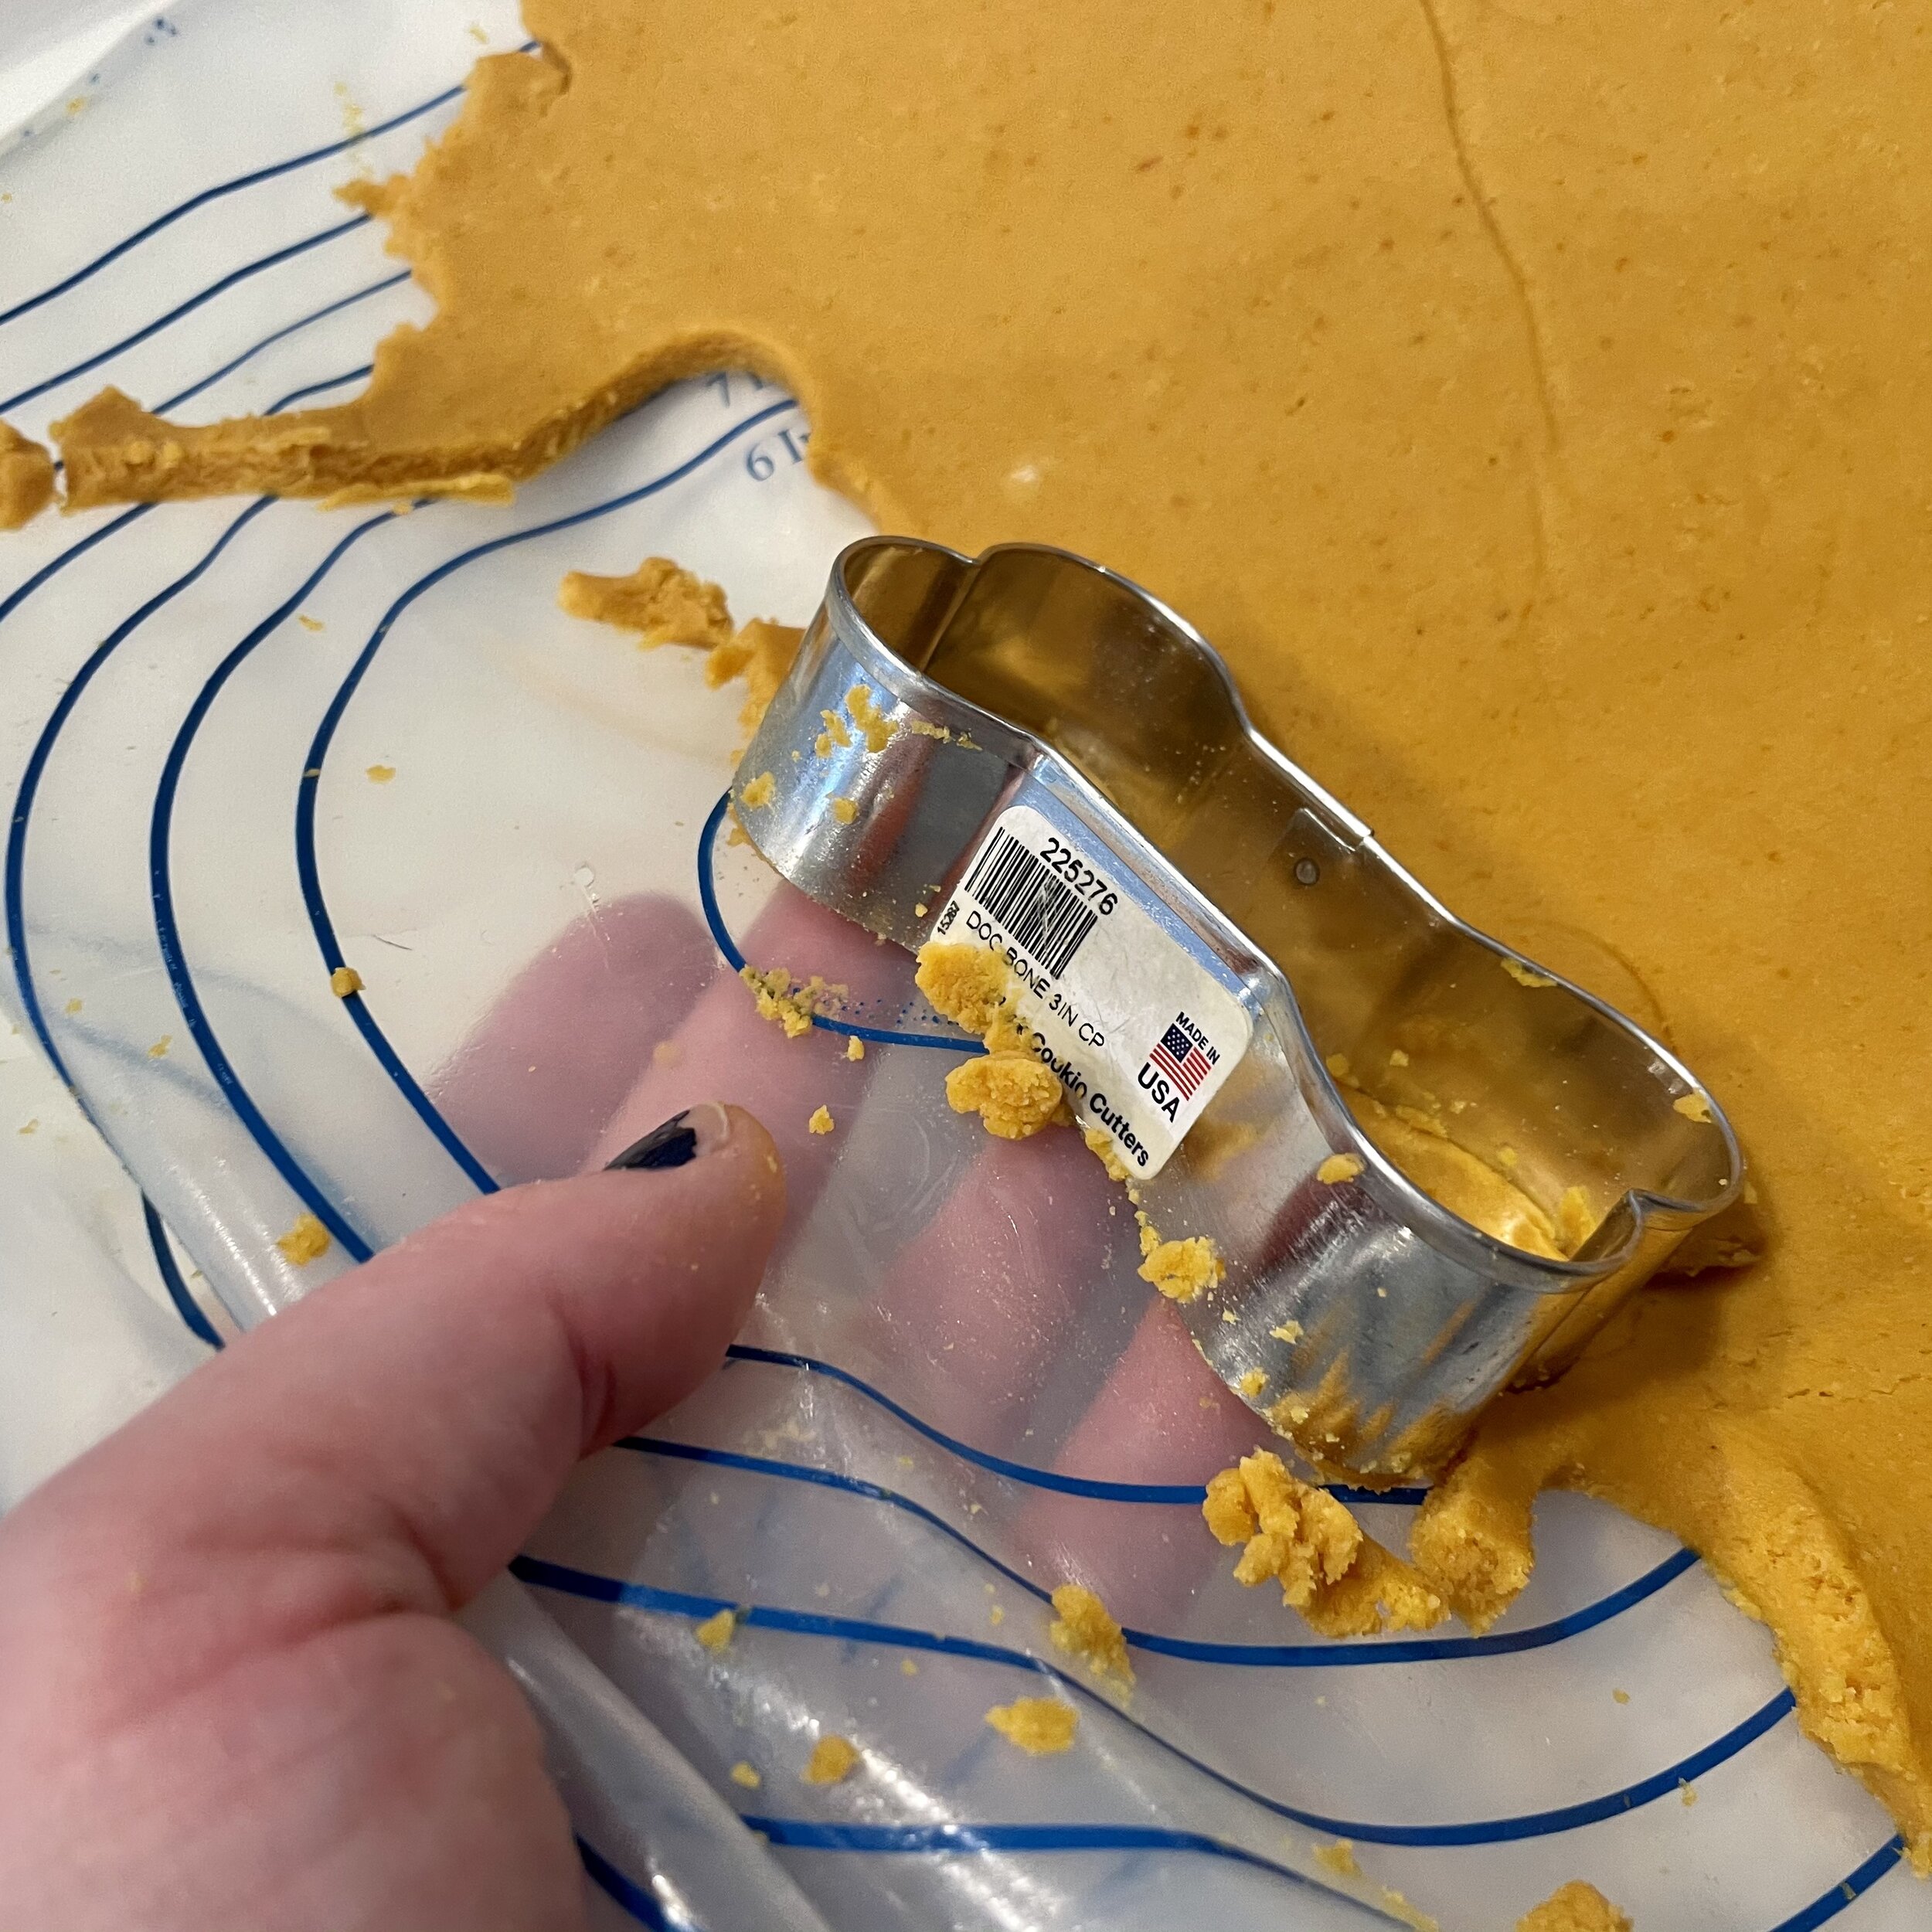
Get under it and press on it from behind to remove it from your surface.

Press on it with your index and middle fingers to pop it out.

Woof :)
step 4: bake your doggie cookies
Bake dog treats for 15-17 minutes, or until they’re slightly brown around the edges. Unlike almost every other recipe I make, you don’t want to undercook these at all. Crispy dog treat are the goal here! Once out of the oven, allow the cookies to cool completely on the baking sheet. Your puppy cookies will keep in an air-tight container for up to three weeks, or refrigerated for longer.

Just a little brown around the edges is a good thing here.

Bow wow wow, yippee-o yippee-yay!
And there you have it! You know I’ll be posting pictures of our little guy on social when we pick him up, so stay tuned!